Understanding the Email Consent setting
Last updated: August 24, 2026
The Email Consent setting lets you give your sales team visibility into contact email addresses inside Influ2 — while keeping you in control of the consent behind it. If your organization has data-sharing or GDPR considerations, this is where you formally opt in to having those addresses surfaced to your team, with a clear record that you did.
What it is
Email Consent is a setting available in your Account Setup tab. When it’s turned on, Influ2 can display available contact email addresses to your sales team in Influ2 — including cases where an address isn’t already available in your CRM.
Think of it as a consent control rather than an action. Turning it on tells Influ2 you want these addresses shown to your team, and that confirmation is recorded — so if data-sharing or GDPR questions ever come up, you have a clear record of who opted in and when.
Just as important is what this setting doesn’t do. It does not launch anything, change your ads, or send emails to your contacts. It only affects whether available email addresses are displayed to your team.
Keep in mind: the setting is off by default, and it’s set once for your workspace rather than per user.
Who can change it
This setting is available to users with the Admin role. If you don’t see it in Account Setup, check your role first — you’ll need this to turn it on.
What you’ll see
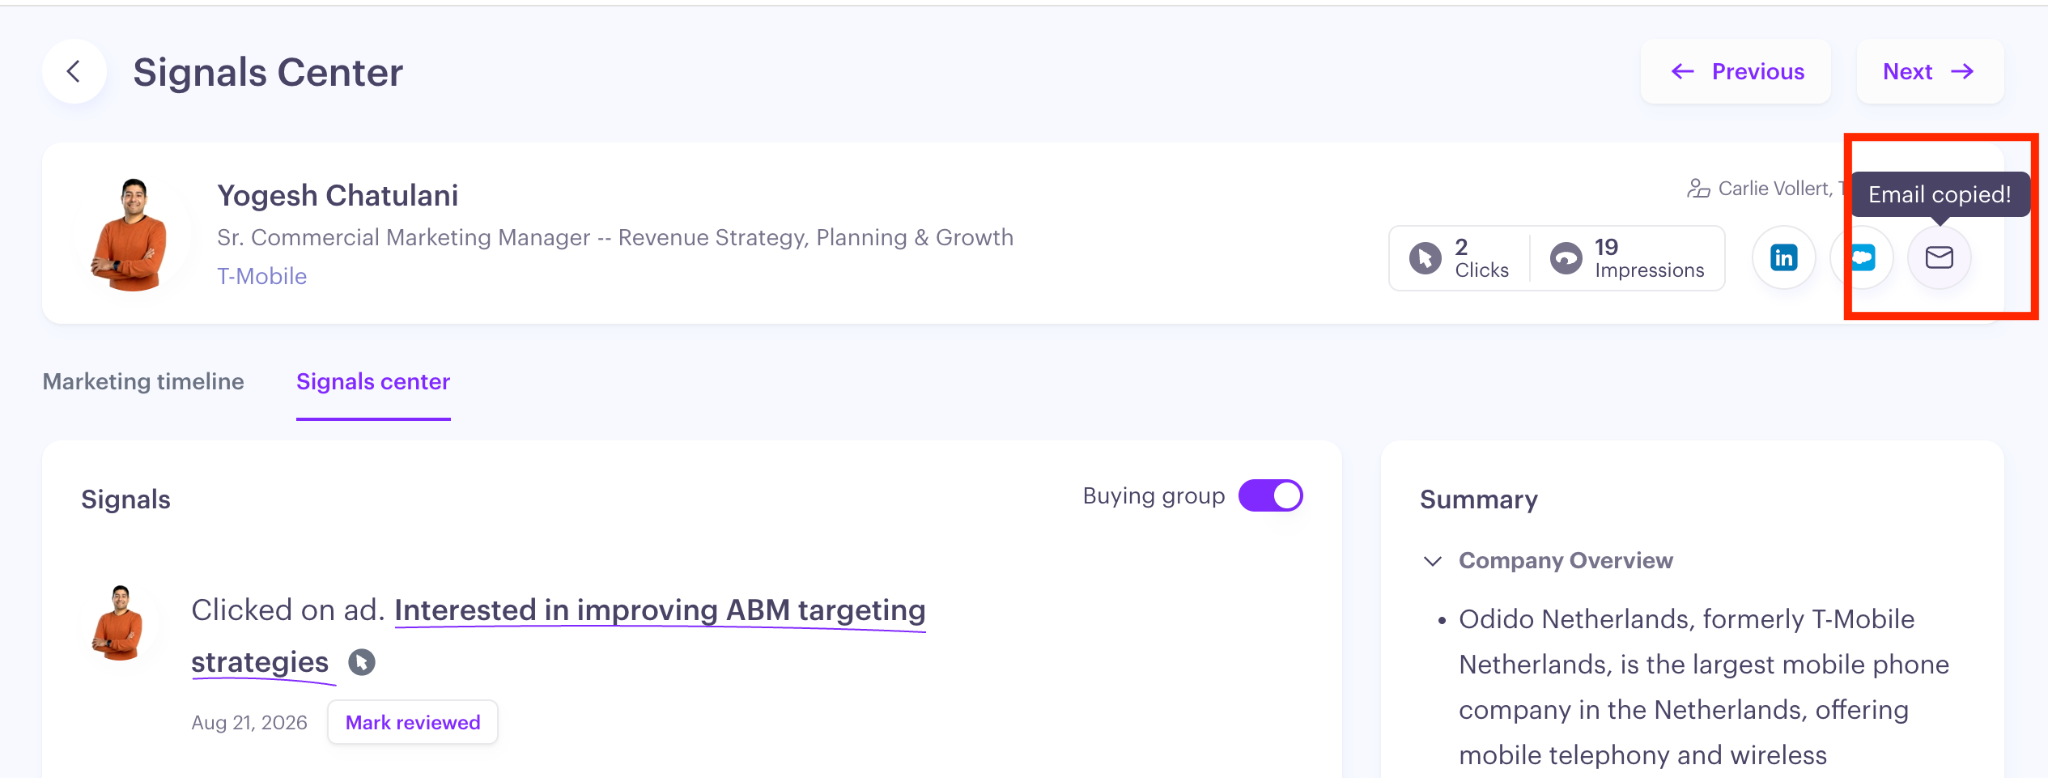
Once the setting is on, both CRM and non-CRM email addresses appear on the Target Report. Your team can view and copy addresses directly there, which means they can act on a contact even when that person’s email was never in your CRM to begin with.
How to turn it on
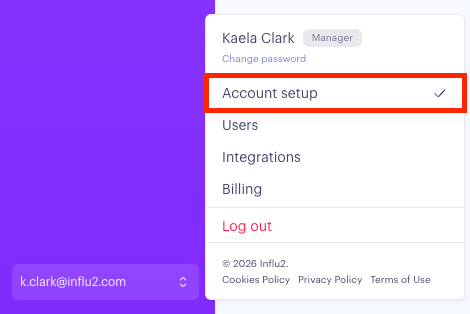
Go to Account Settings. You’ll need the Admin role to see this page.
Find the Email Consent setting. It shows as off until you enable it.
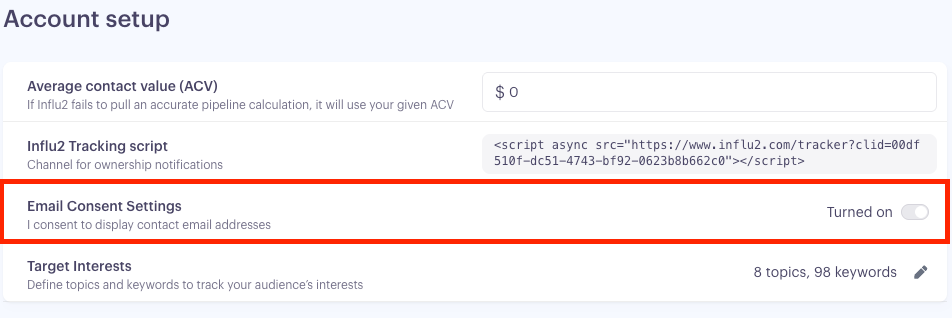
Turn it on to confirm consent. This records your confirmation and lets Influ2 display available email addresses to your team on the Target Report.
That’s all it takes — there’s no separate step to make the addresses appear. Once the setting is on, your team will see available email addresses on the Target Report the next time they open it, and can easily copy the email address by clicking on the email icon.