If you choose to add the tracking code via Google Tag Manager (GTM) we recommend placing the code in the body of the page. If you don't use GTM, we recommend placement on the footer of the page.
Before adding the Influ2 campaign tracking code to your GTM, you must check if your website is connected to GTM.
Watch this short walkthrough video to learn how to connect GTM, or follow the step-by-step instructions below.
Checking if GTM is connected to your website
1. Open your GTM container installed on your website. Visit your accounts and view your container. Also, go to the homepage of your website and inspect the script.
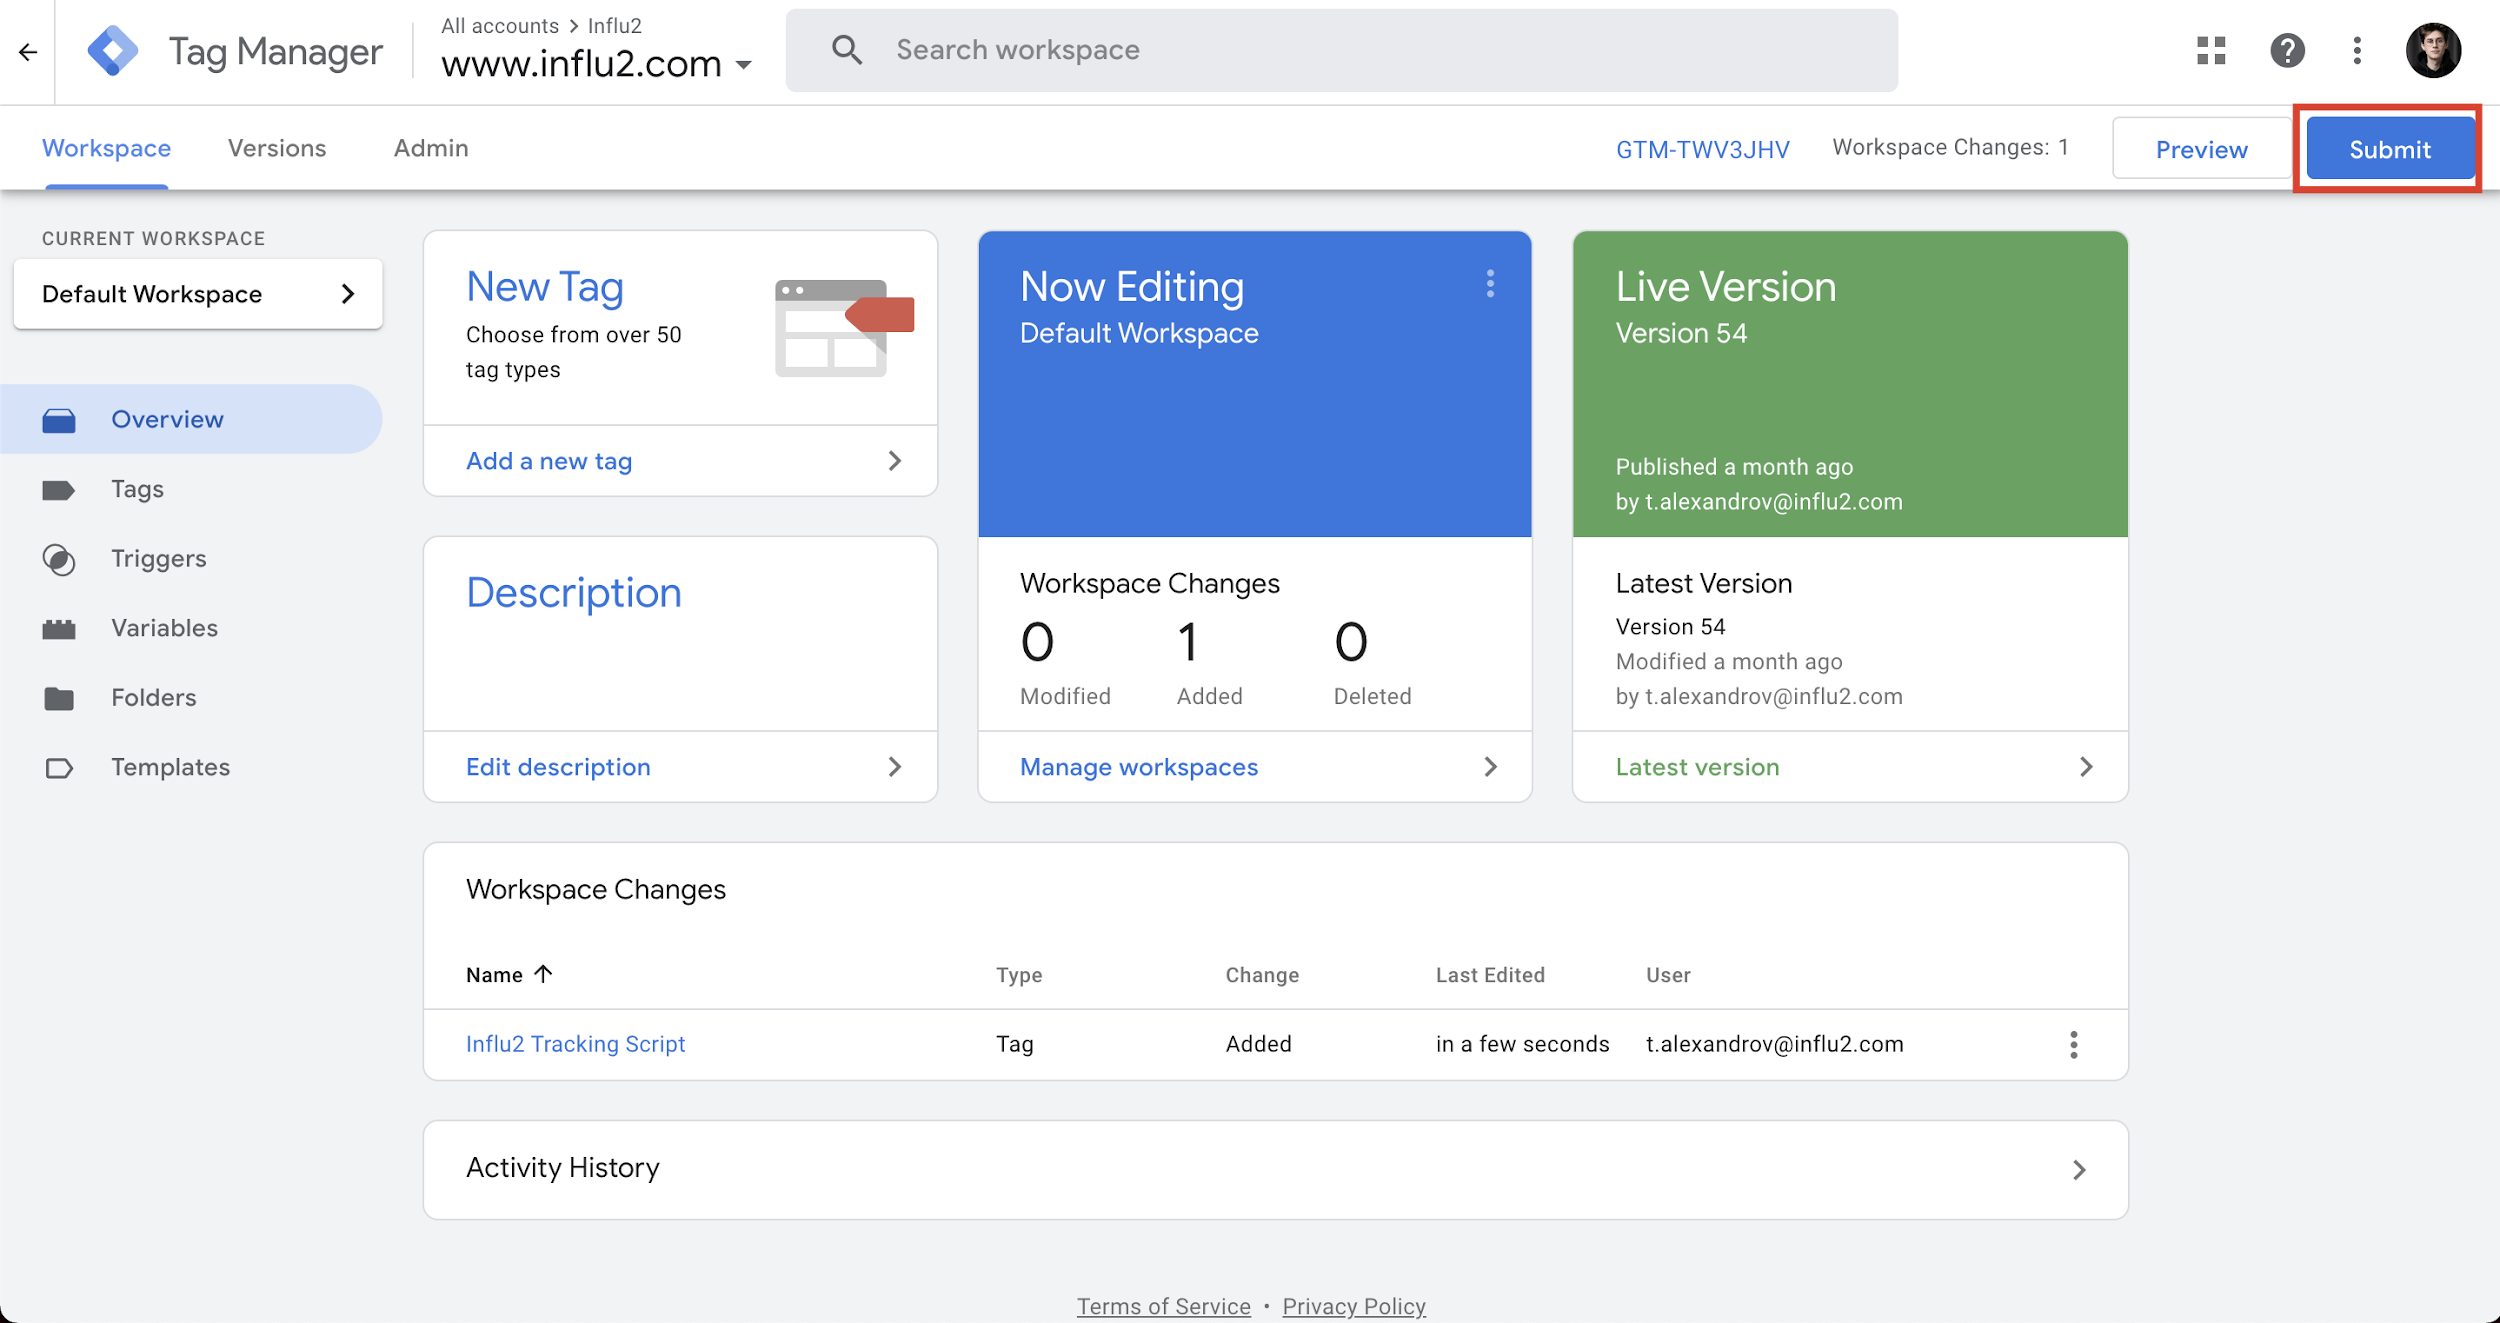
Search the tag listed on GTM to ensure they match. In this example, the tag is “GTM-TWV3JHV”.
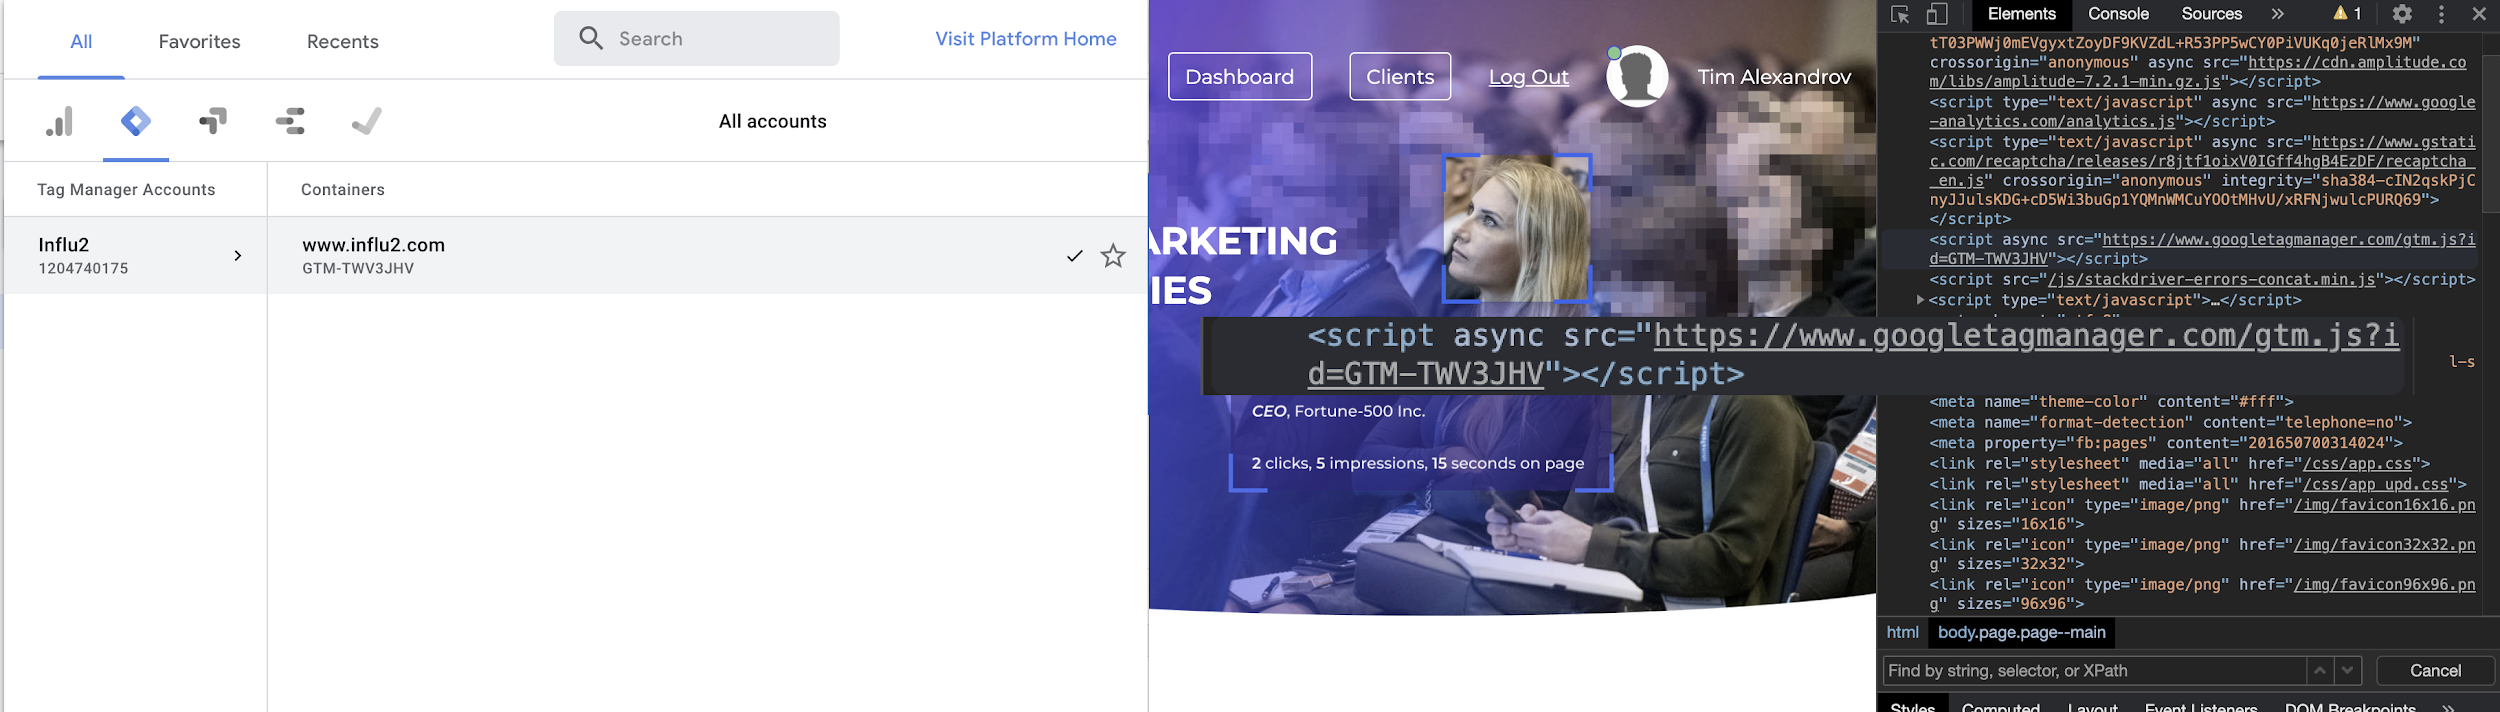
2. If the GTM code matches the code on your website, then you are connected properly. If not, please follow the steps below.
Adding a new GTM tag and Influ2 campaign tracking code
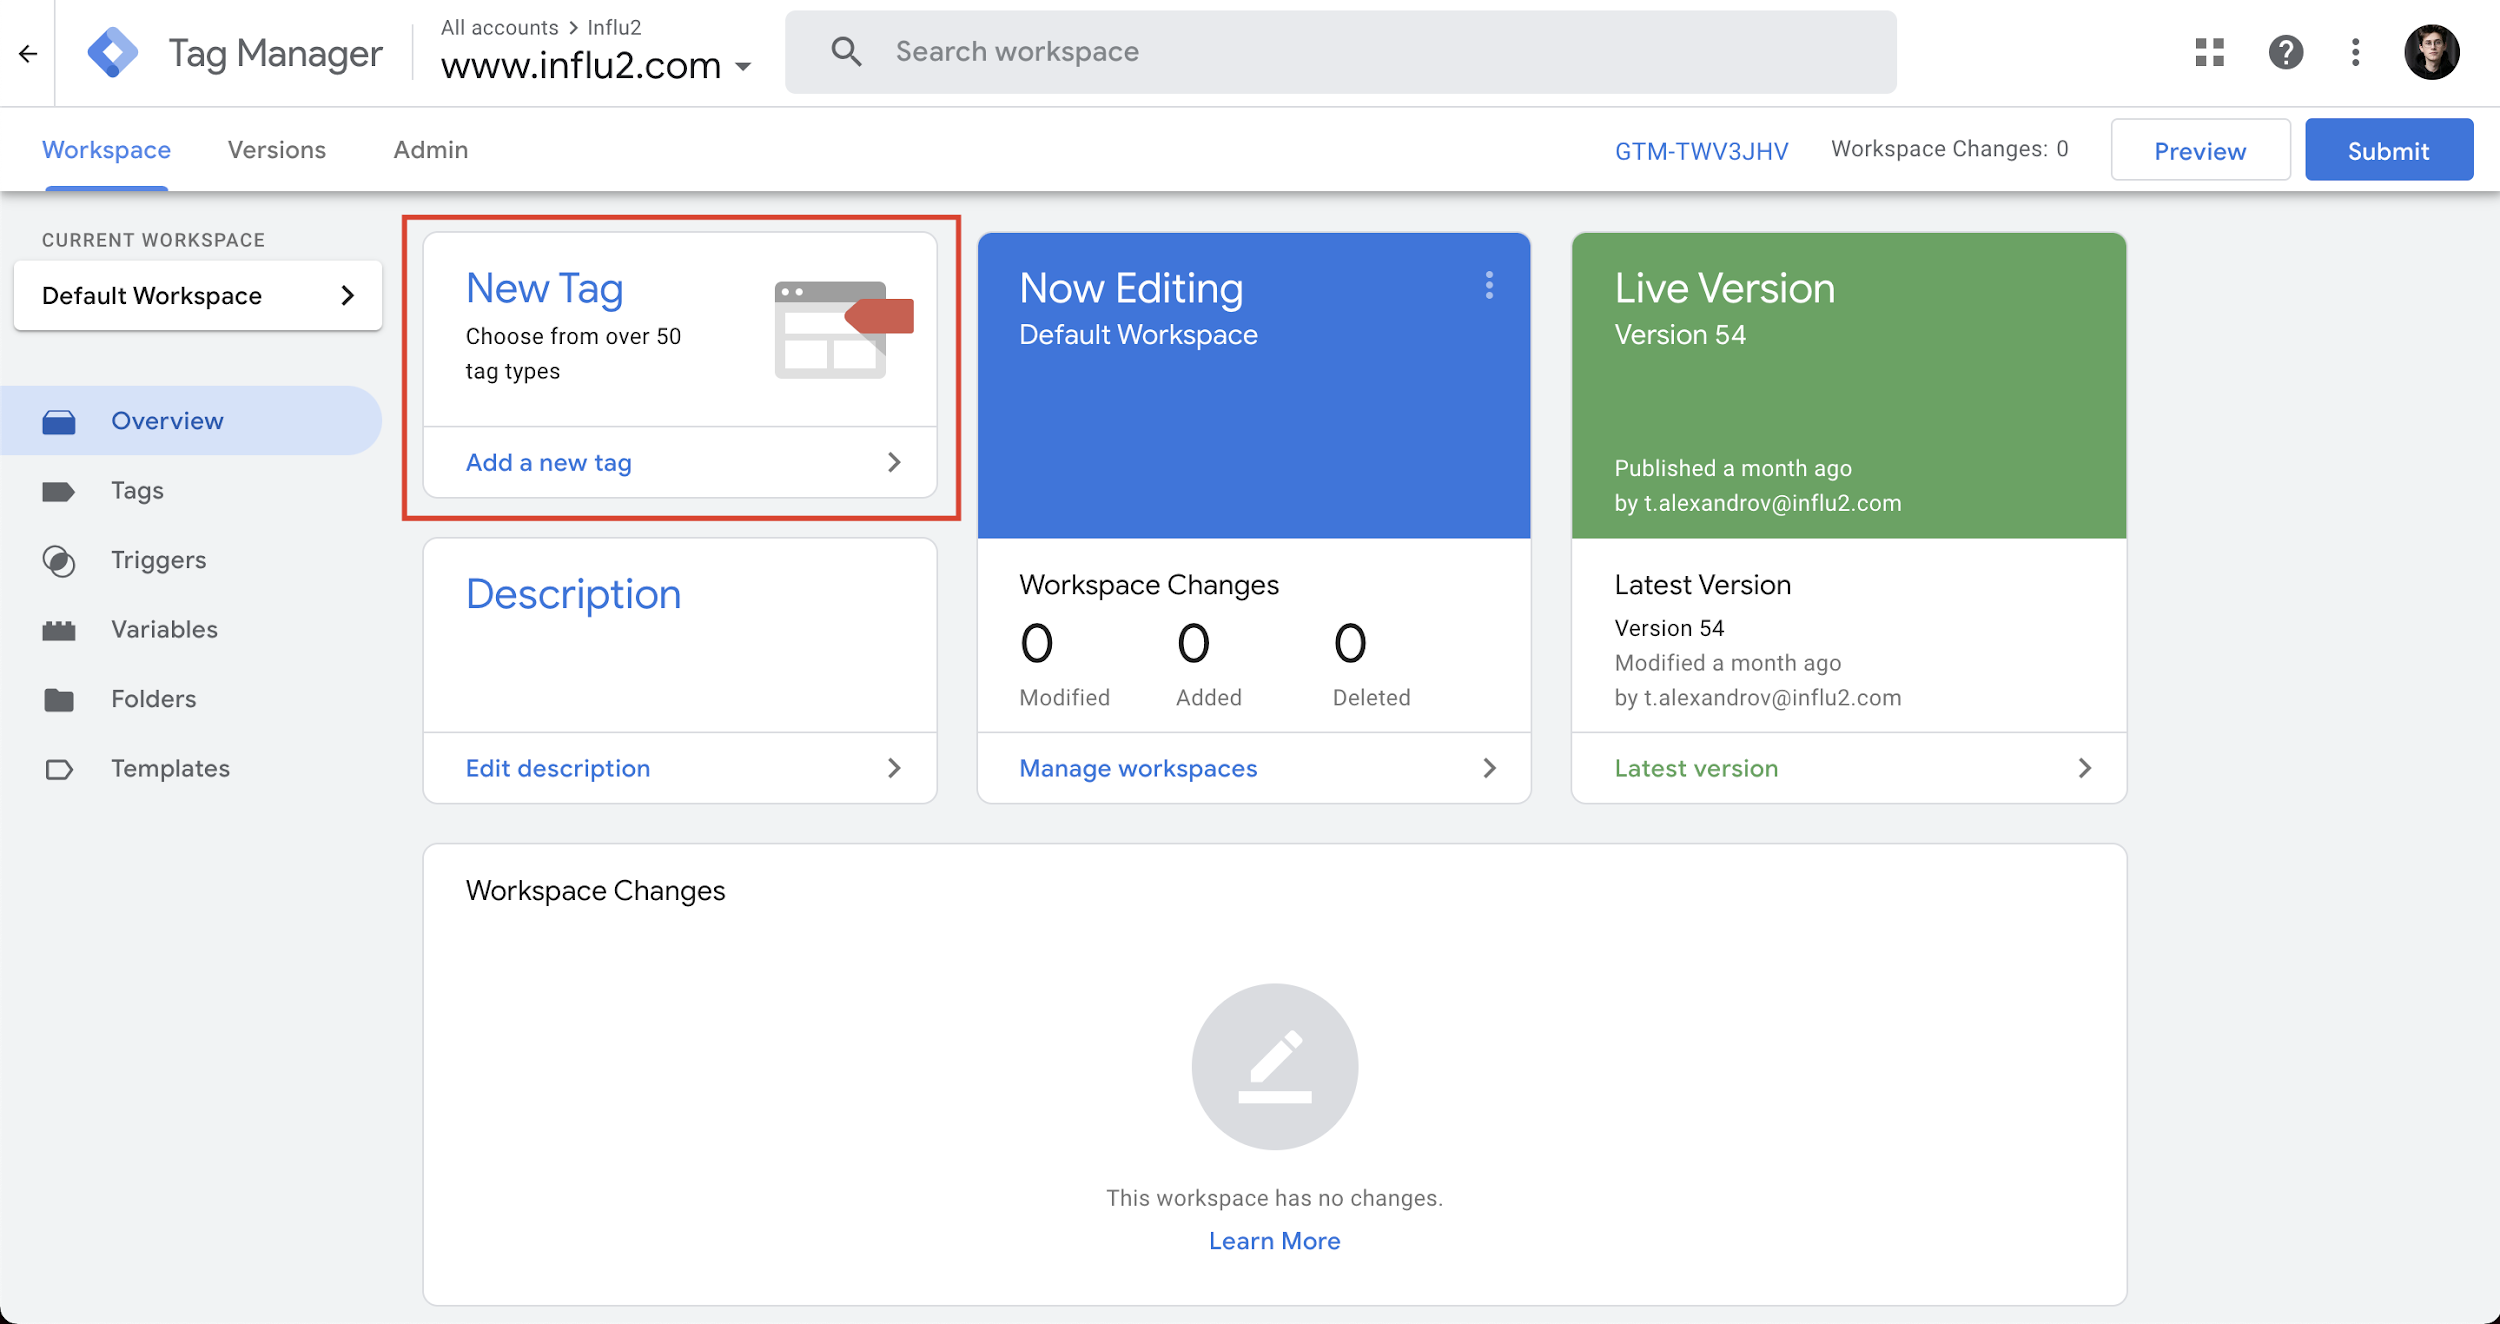
1. Visit GTM and add a new tag: Press the 'New Tag' button in your GTM instance.
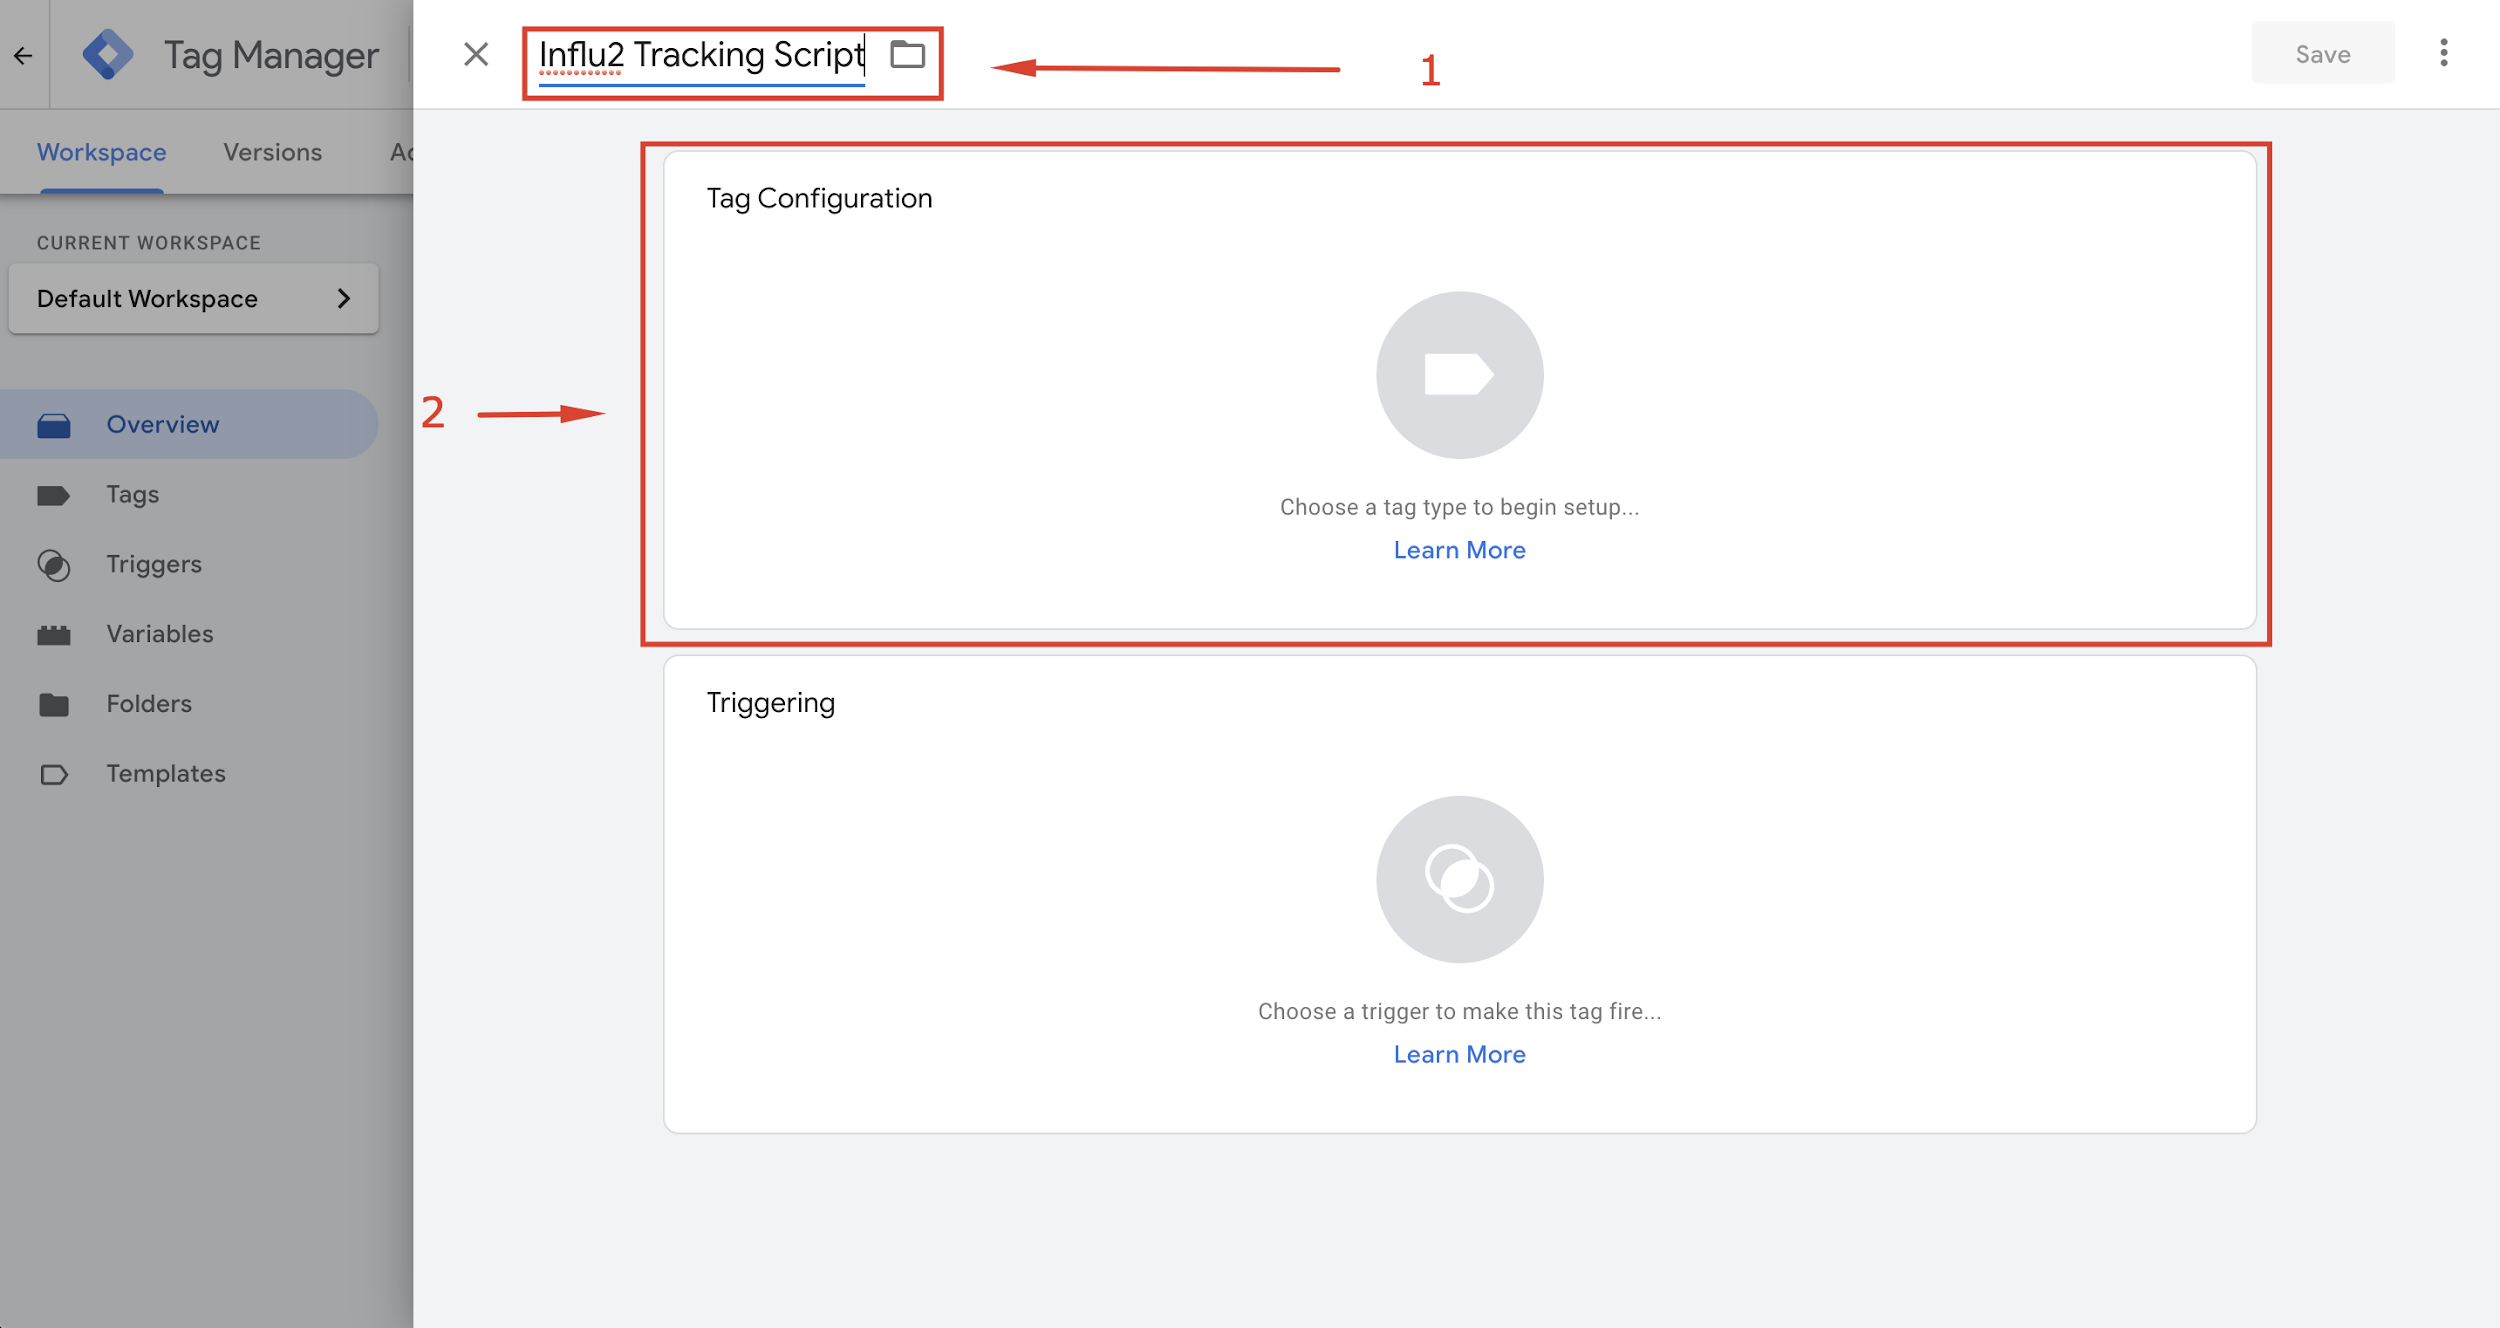
2. Title your 'Tag Name' (there are no specific requirements, but we recommend aligning on a name with your manager) and press the Tag Configuration block.
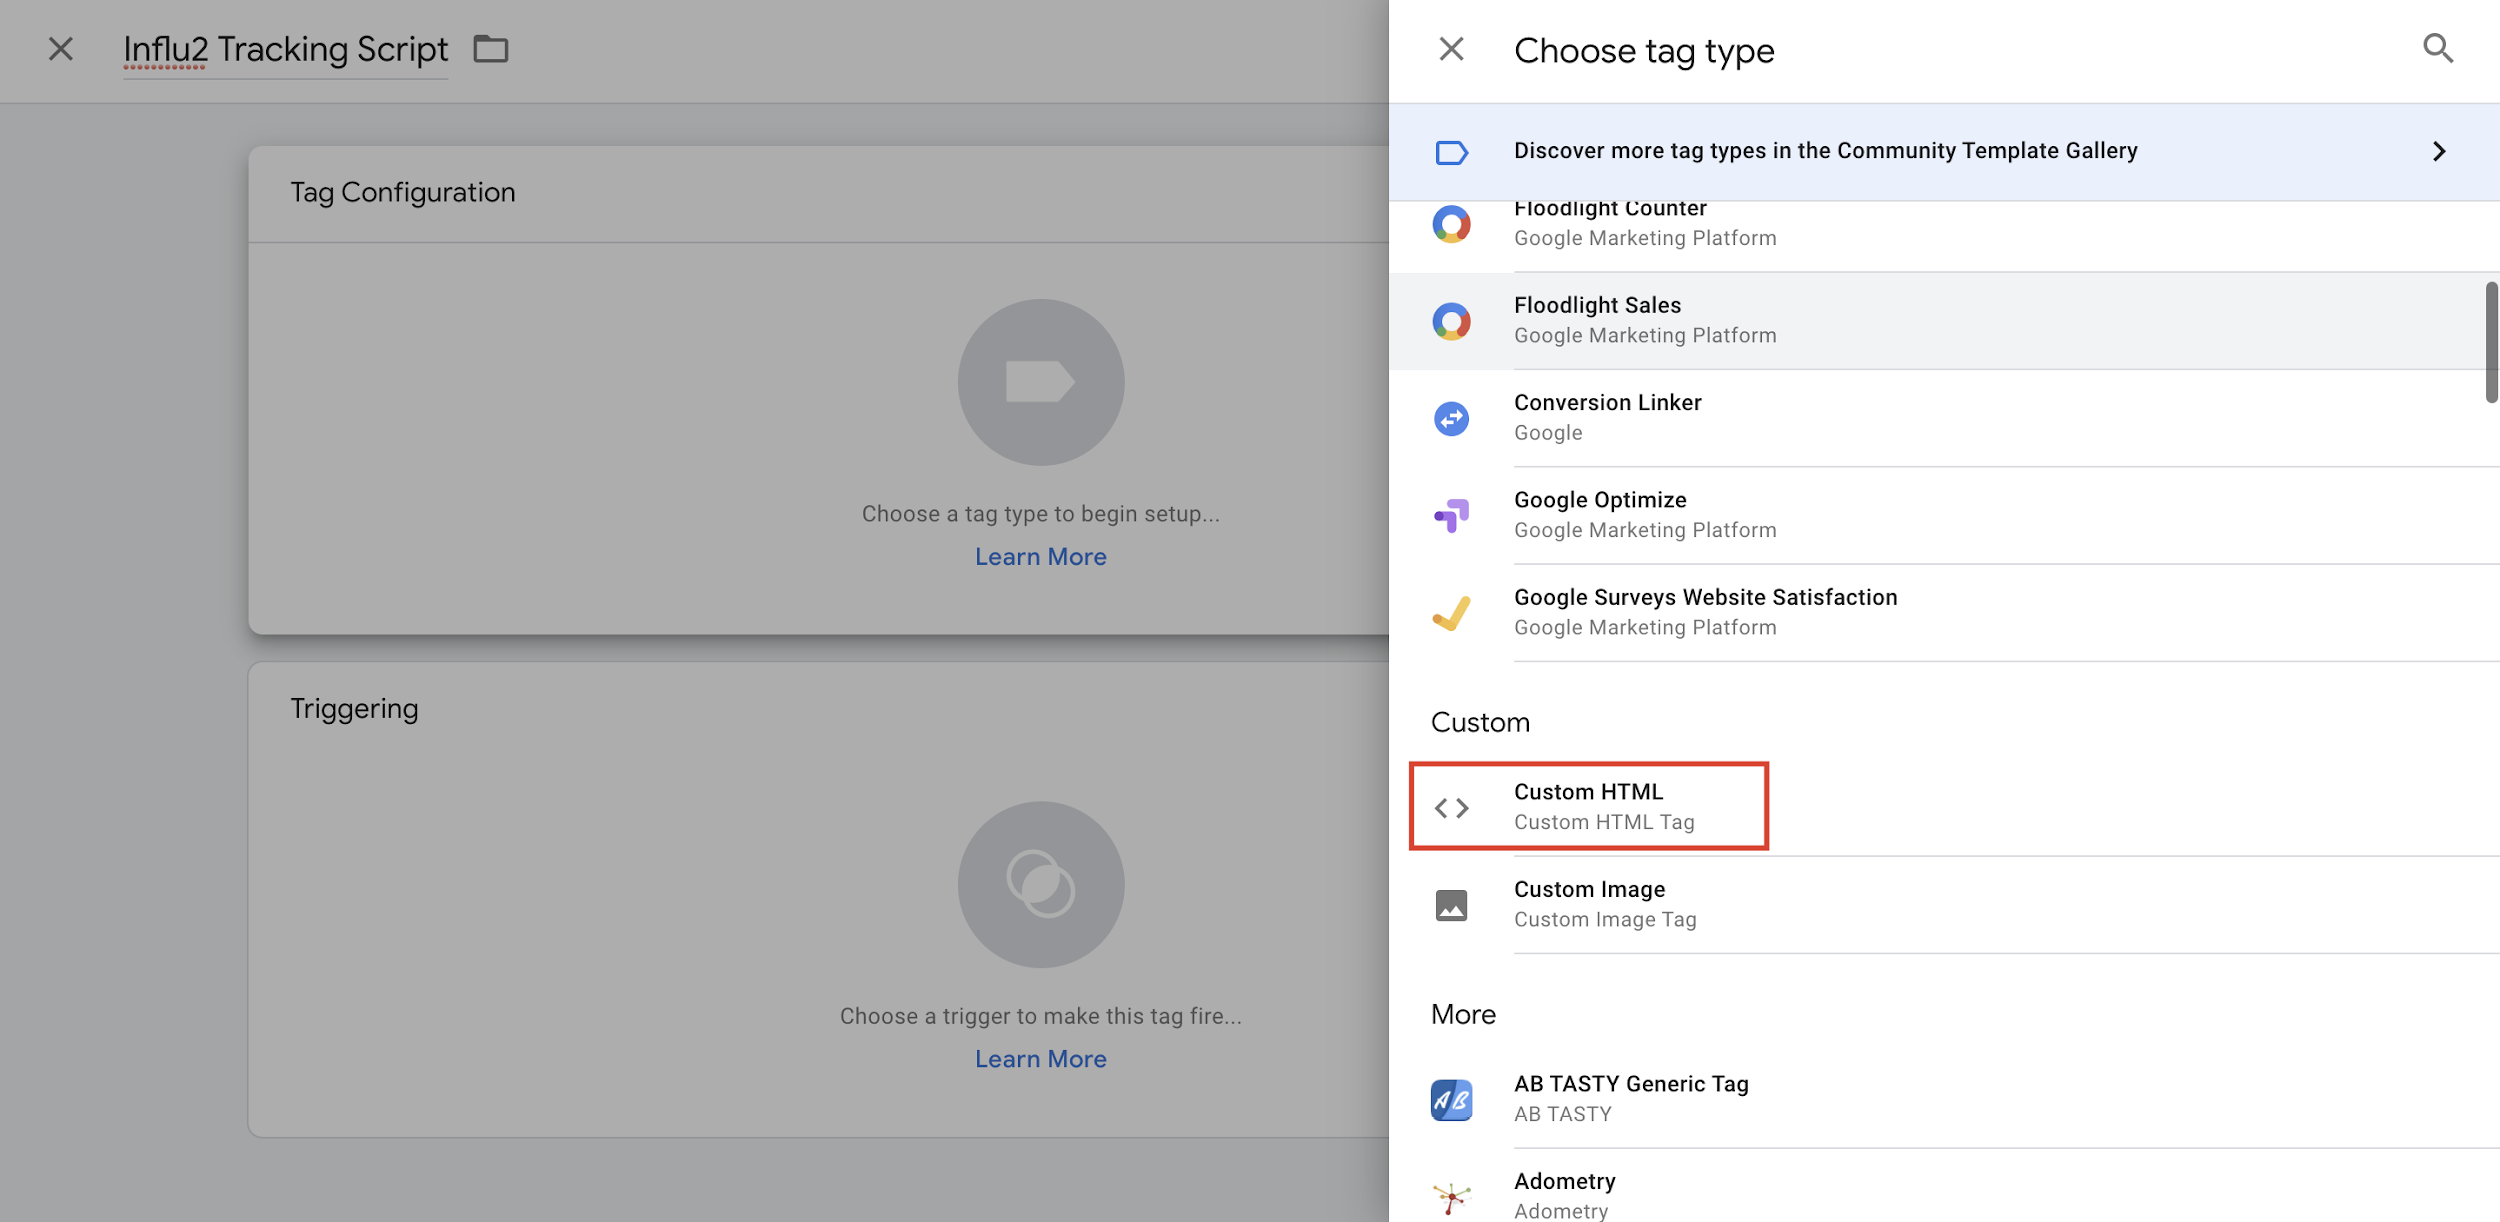
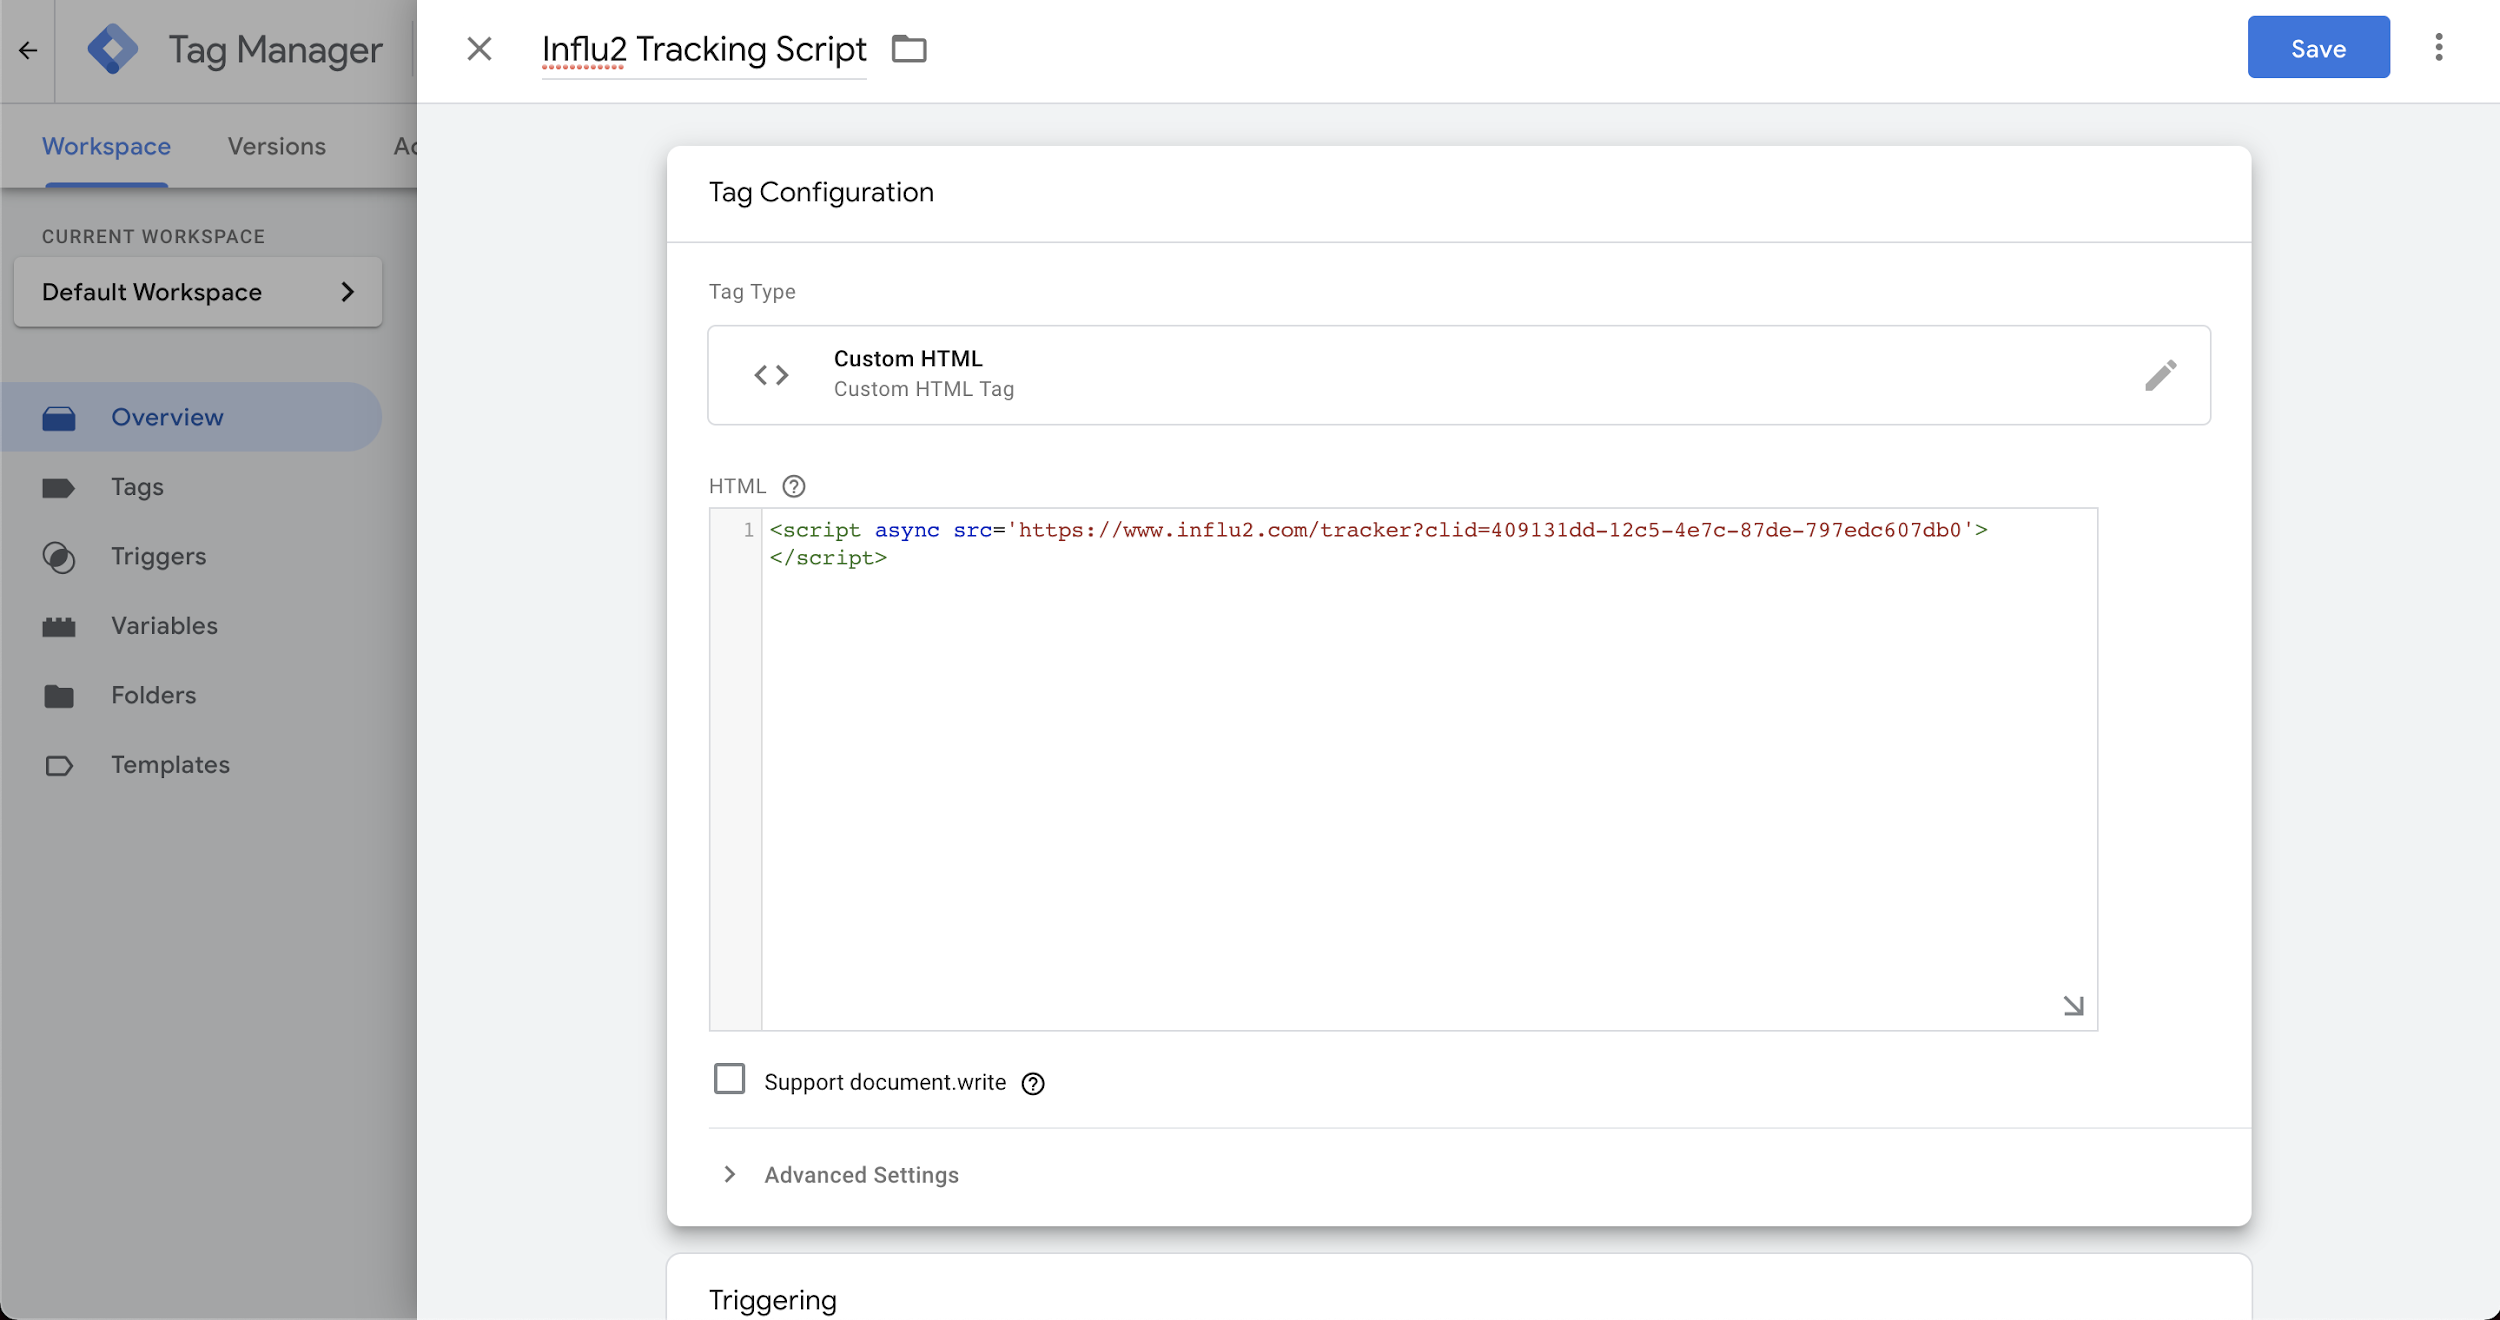
3. In the list of 'tag types', select 'Custom HTML.'
4. In the open HTML field, paste your Influ2 tracking code. You can find this when creating or editing an Influ2 campaign at the bottom of the setup page.
Ensure you have copied the code correctly by pressing the “Copy” button on the right.

5. Scroll down and select the 'Triggering' block.
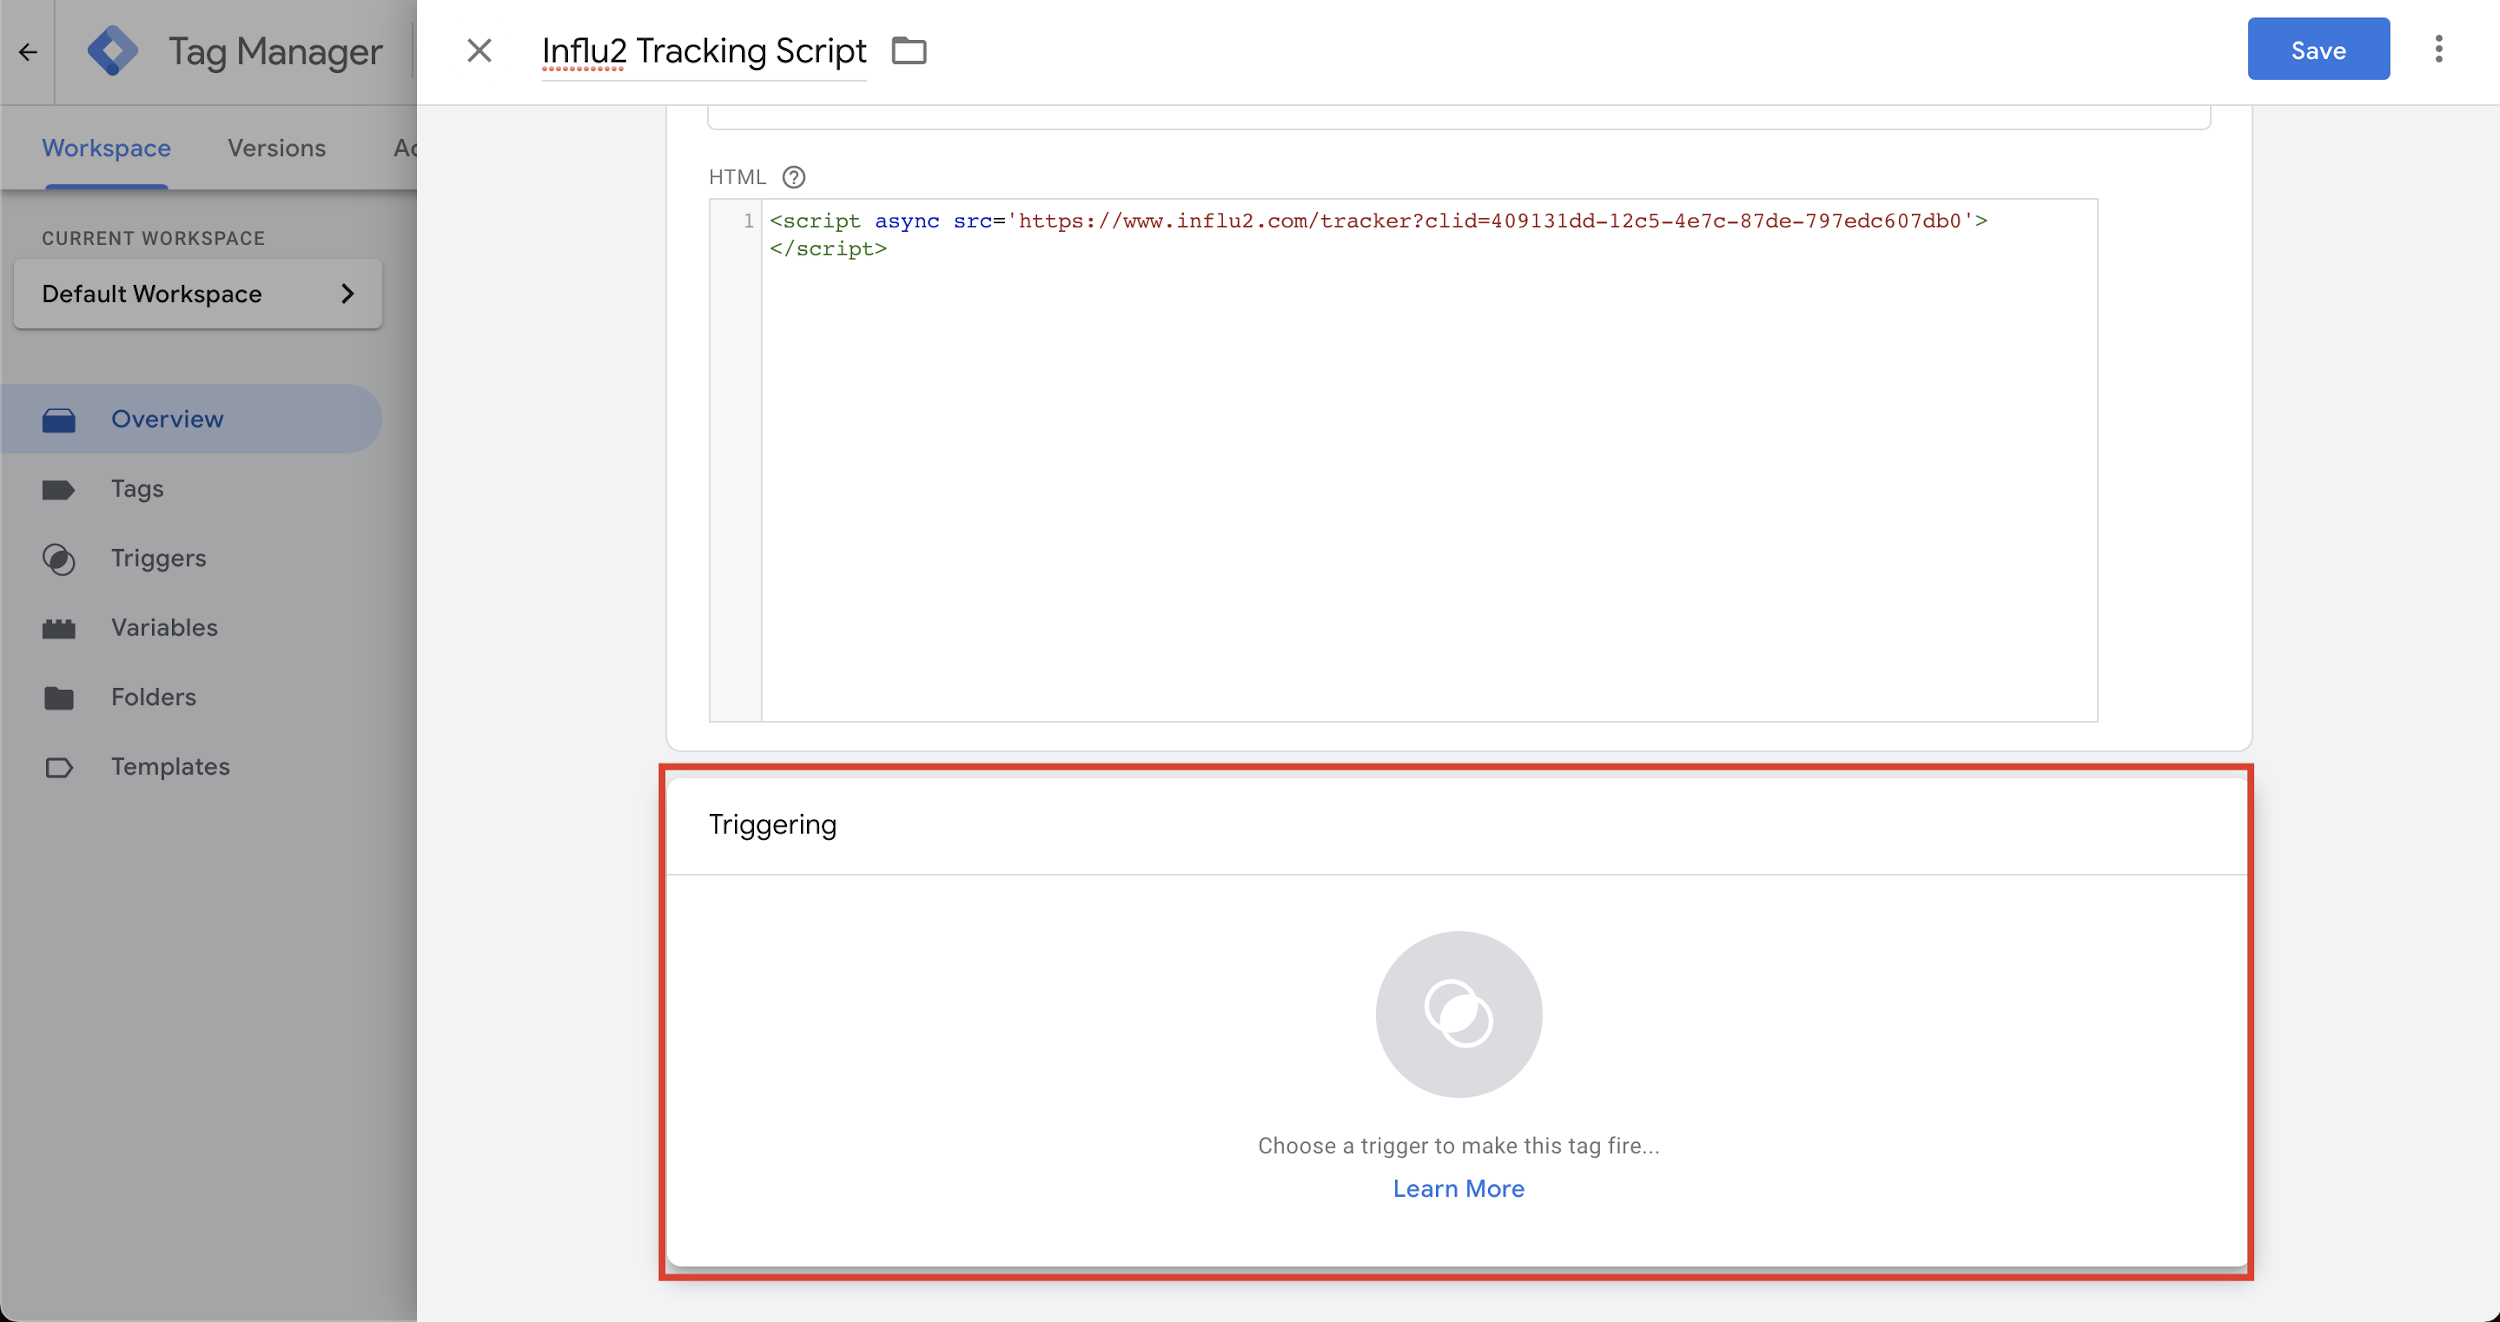
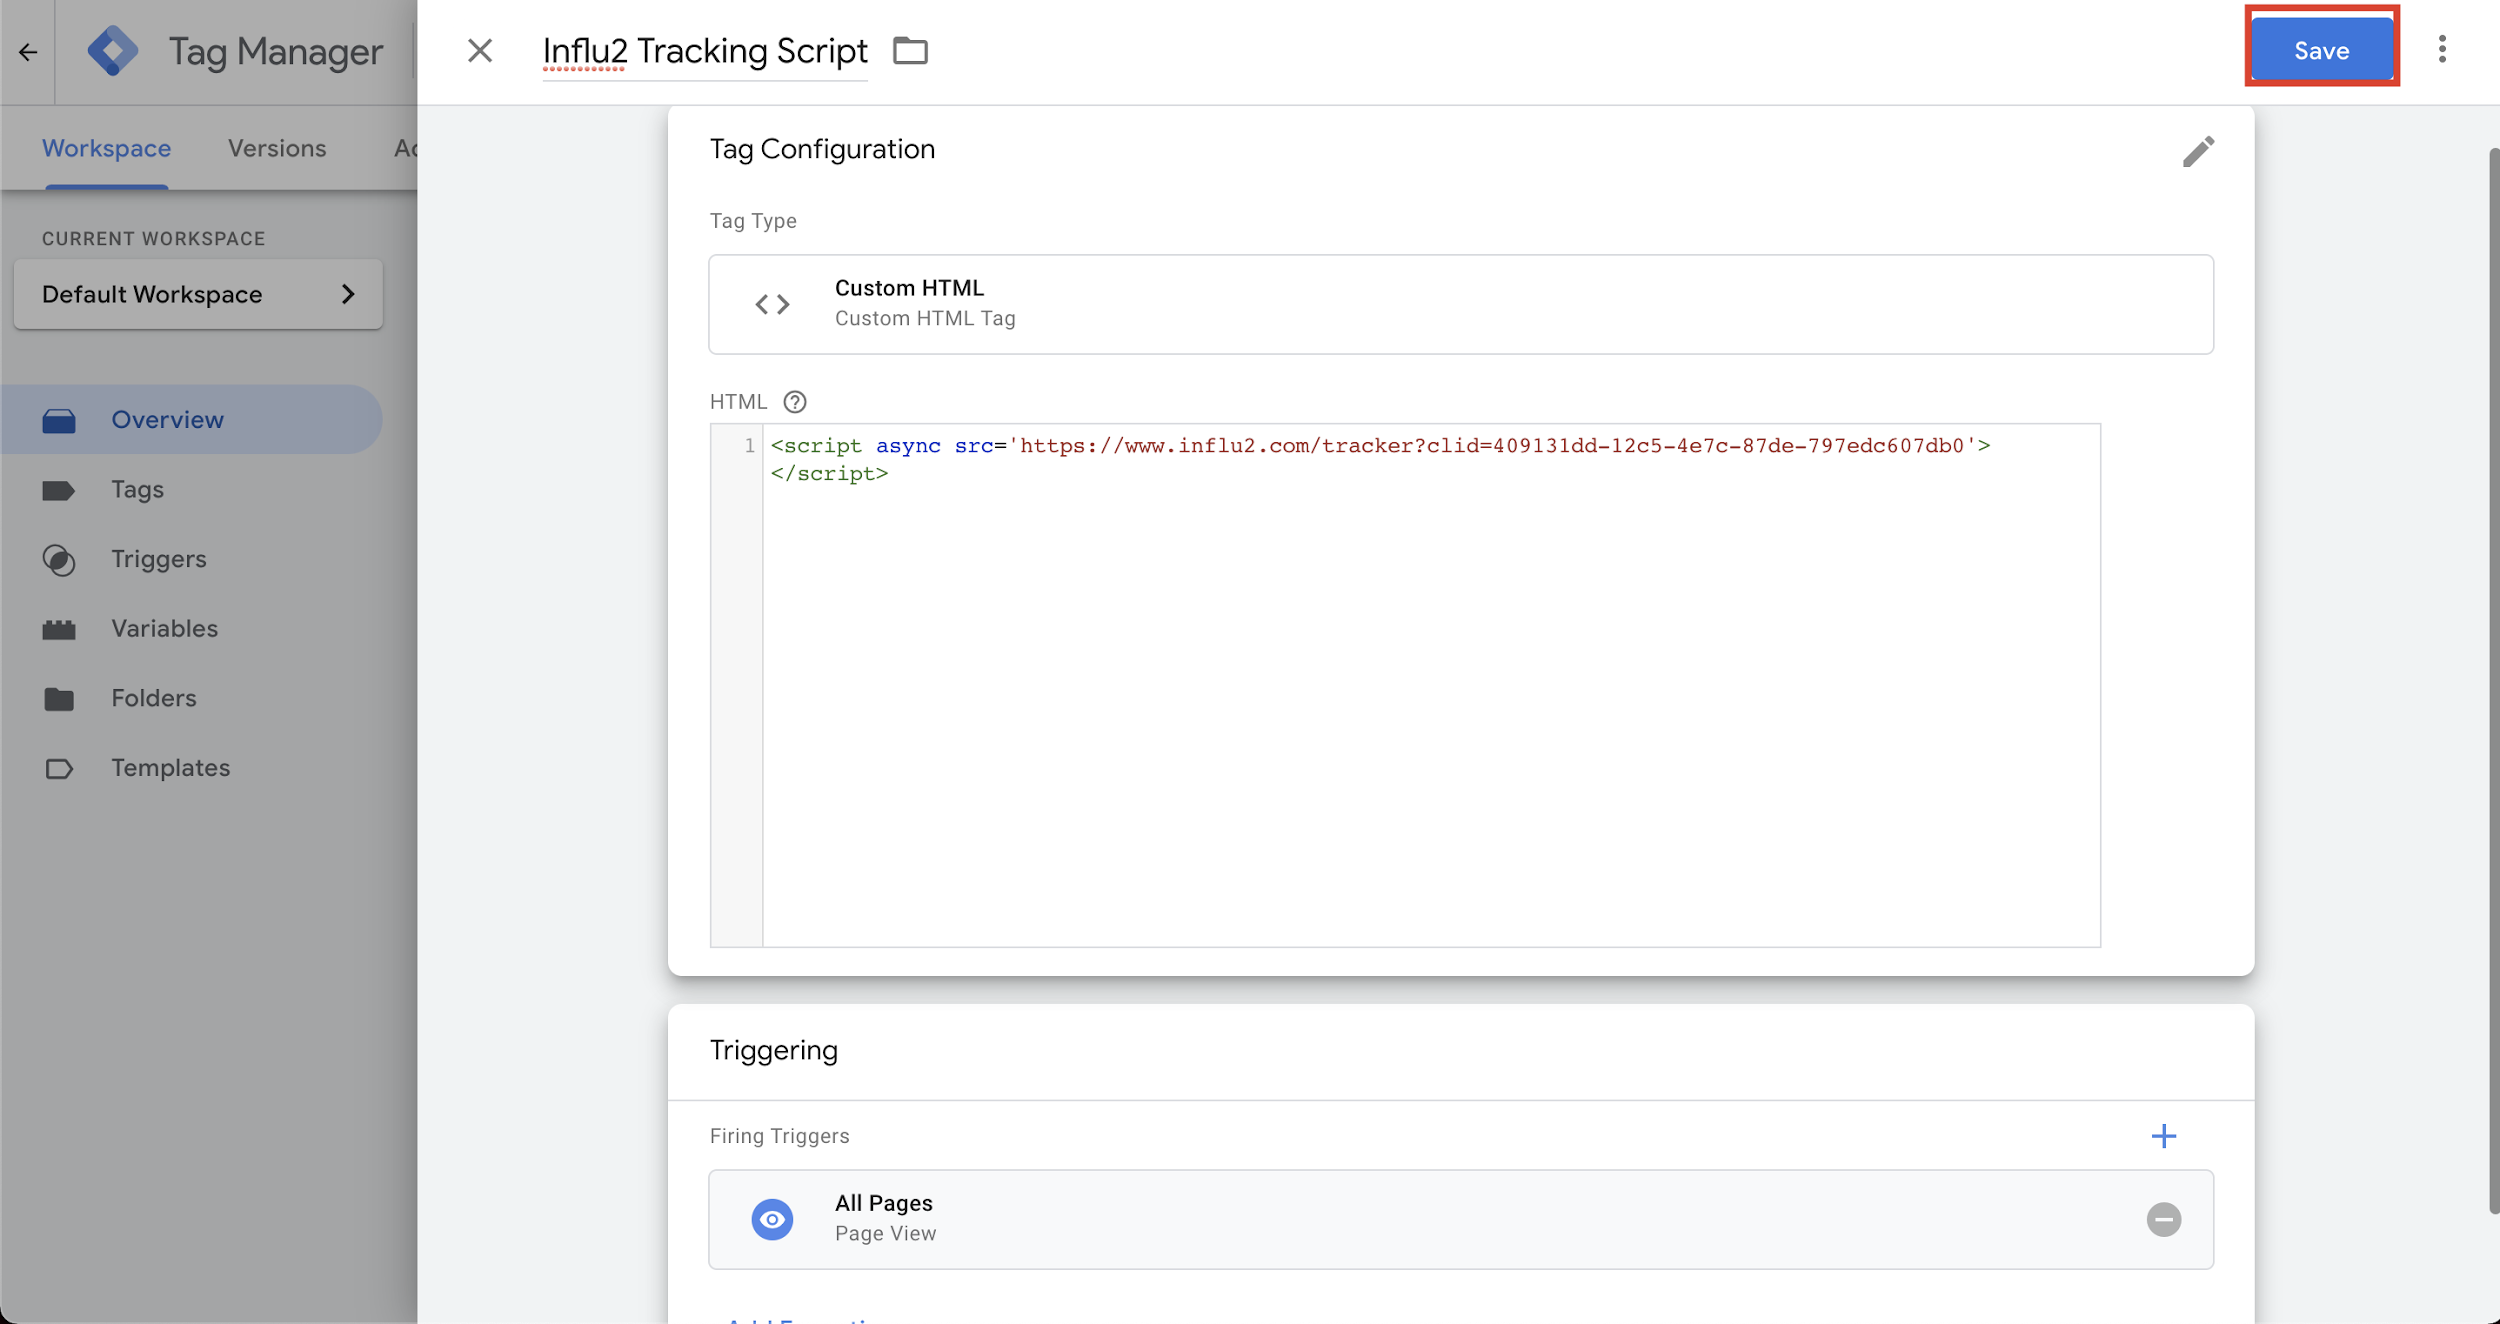
6. Choose 'All Pages' as a trigger if you do not need any additional settings and customizations. If you need specific and precise targeting - contact your development team.

7. When your triggers are set up, select the 'Save' button in the top right corner.
8. After saving, you will be redirected to the Overview page. Once you are done adding new tags you may 'Submit' the request in the top right corner.
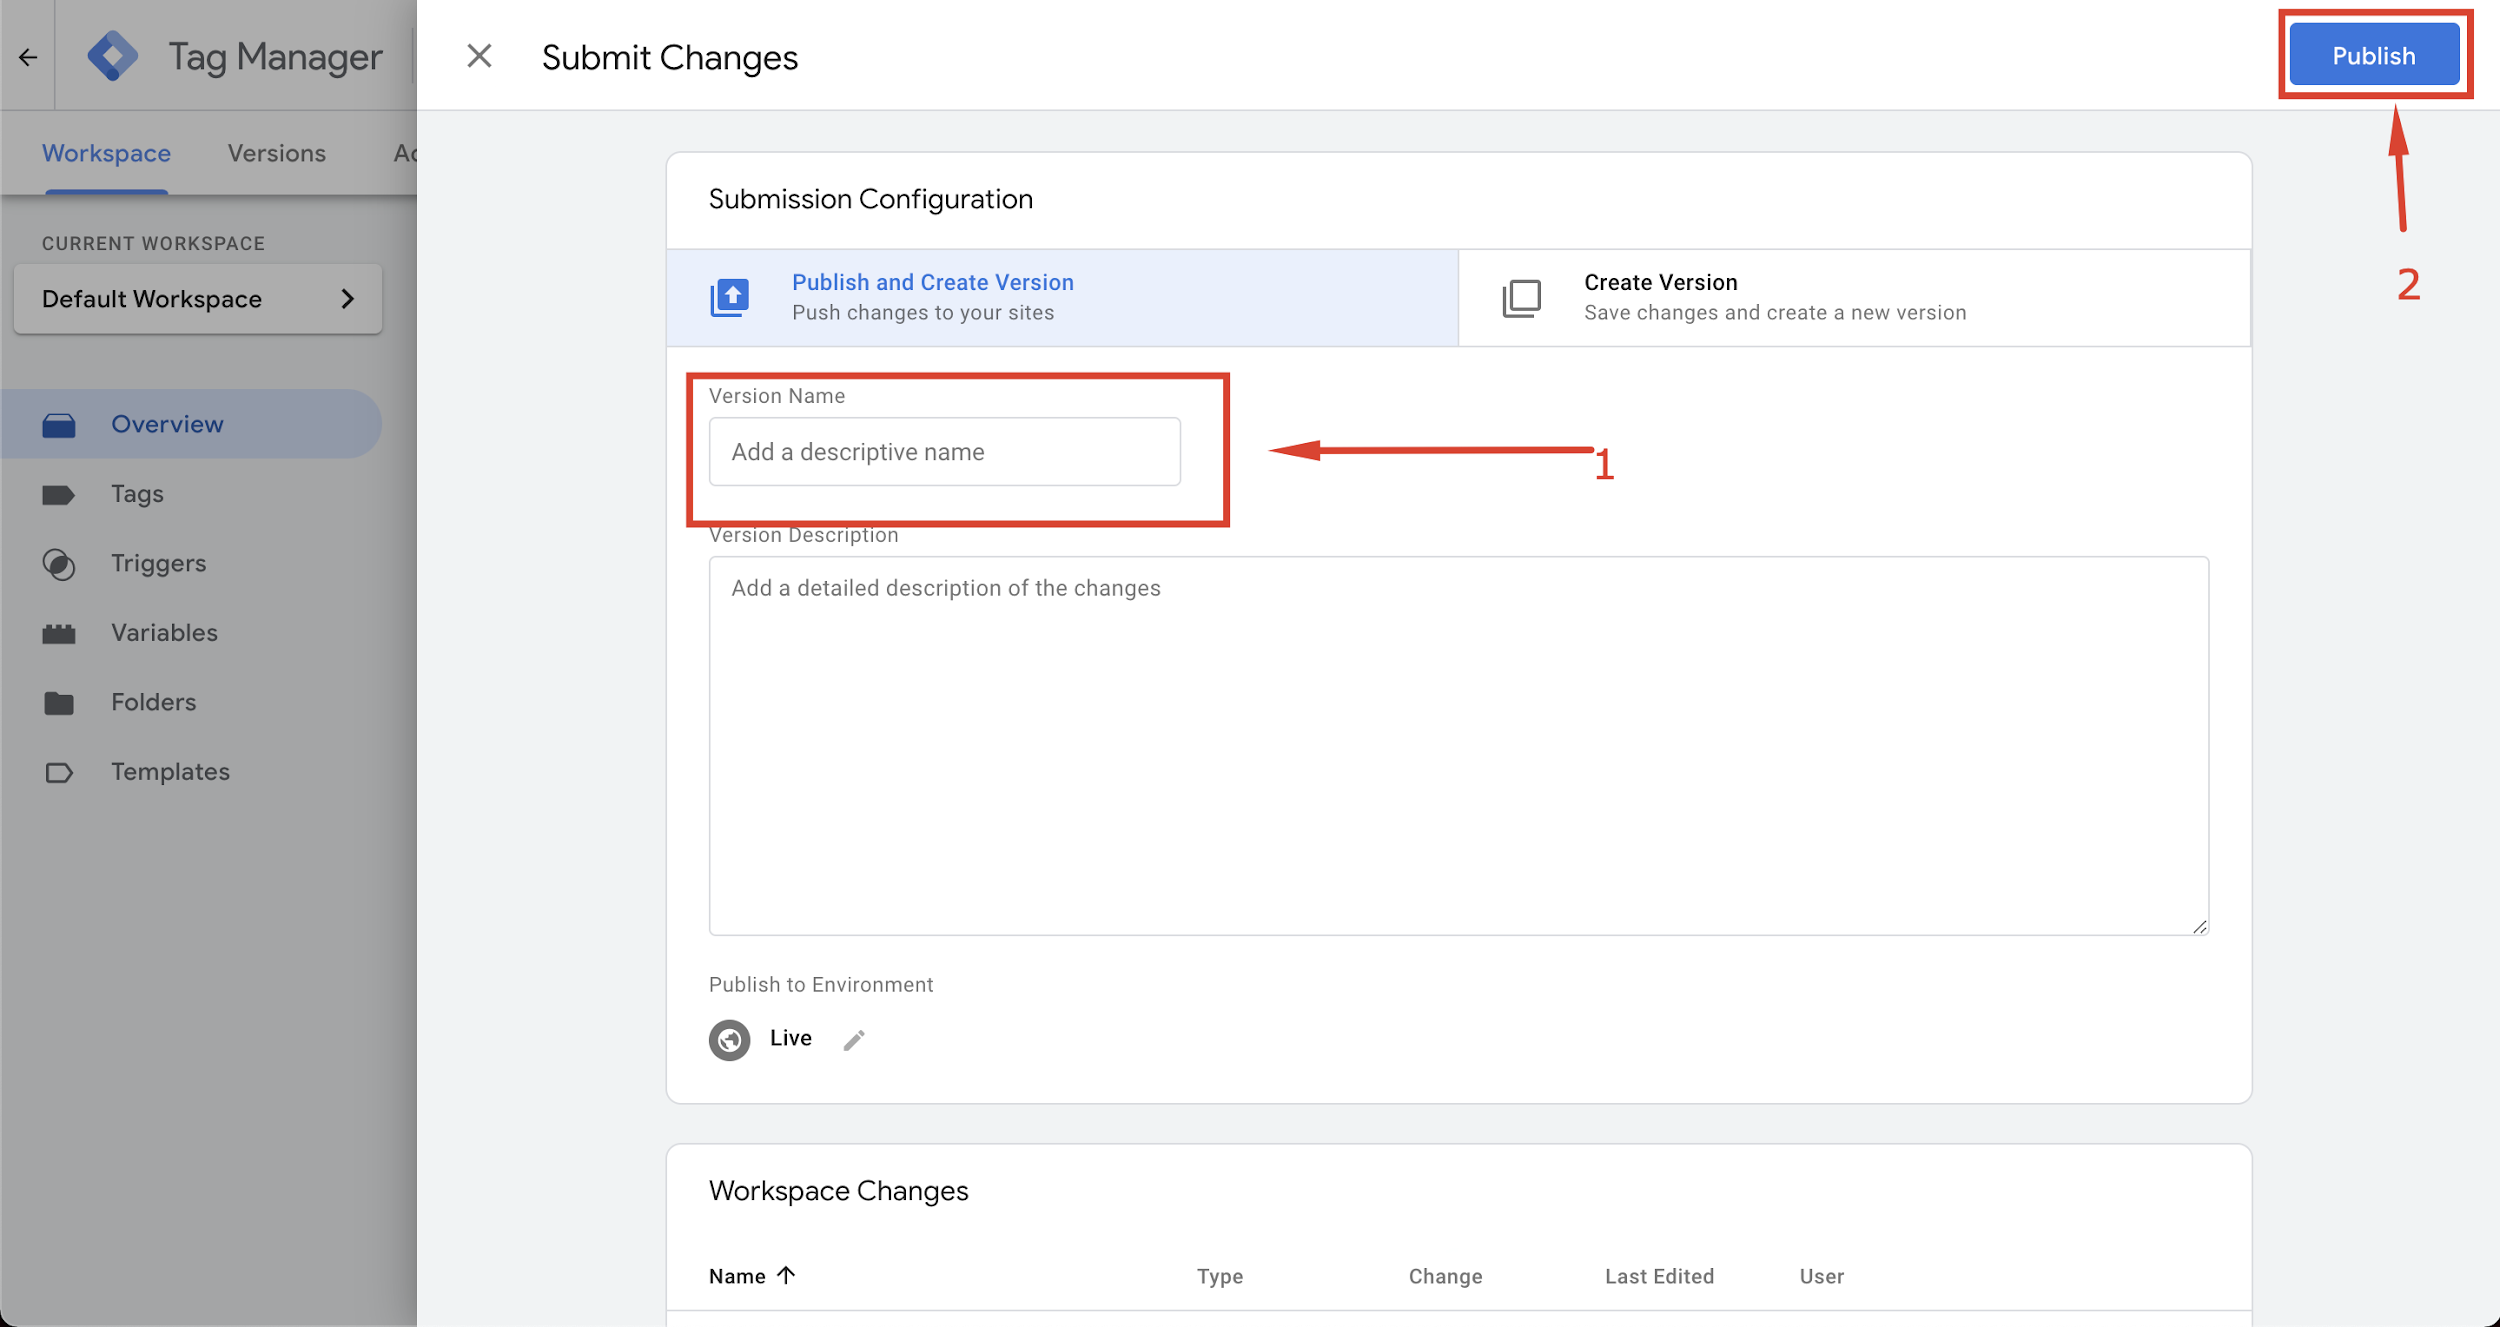
9. Once submitted, you may be asked to publish the new version. Add a name and give a description of what code you have added in this instance. After doing so, select 'Publish'.
Comments
0 comments
Please sign in to leave a comment.