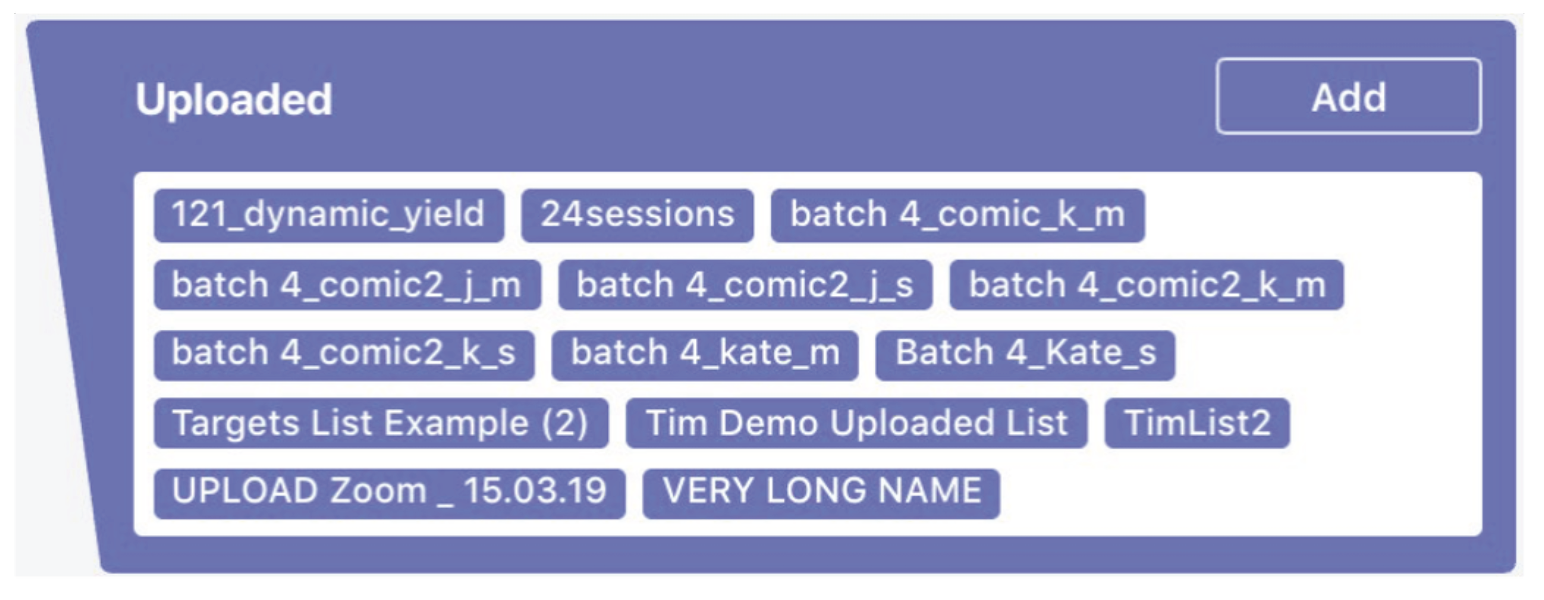
If you have an existing list of targets, use this module to upload it for inclusion and targeting through your campaigns.
1. To create a new audience using this module, click on ‘Add’. This module also displays all other lists that you have created, for quick selection, editing and addition to the campaign.
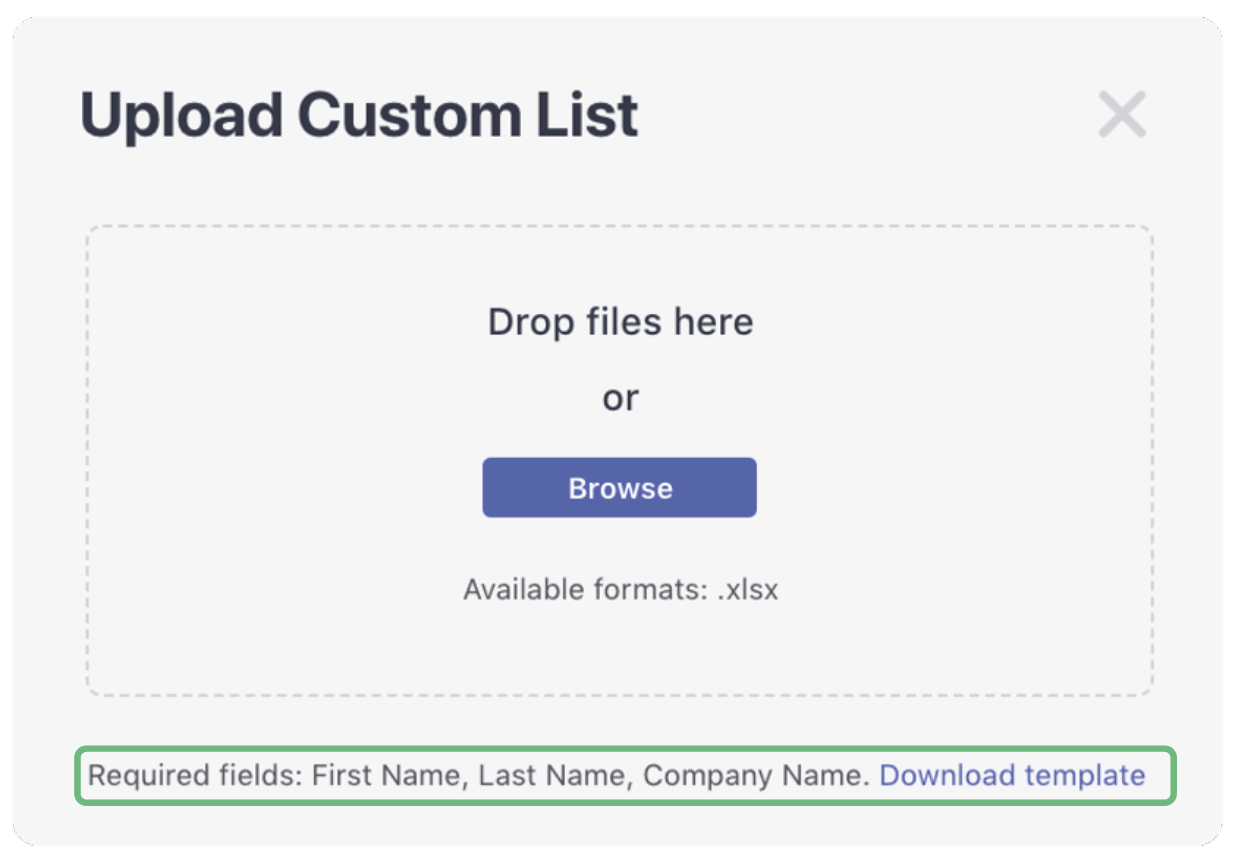
2. This window will pop up to upload your ‘Custom List’ of targets in .xlsx format.
There is a link to download a template for this list to ensure the data is matched accurately.
Once you select your list, it will be uploaded.
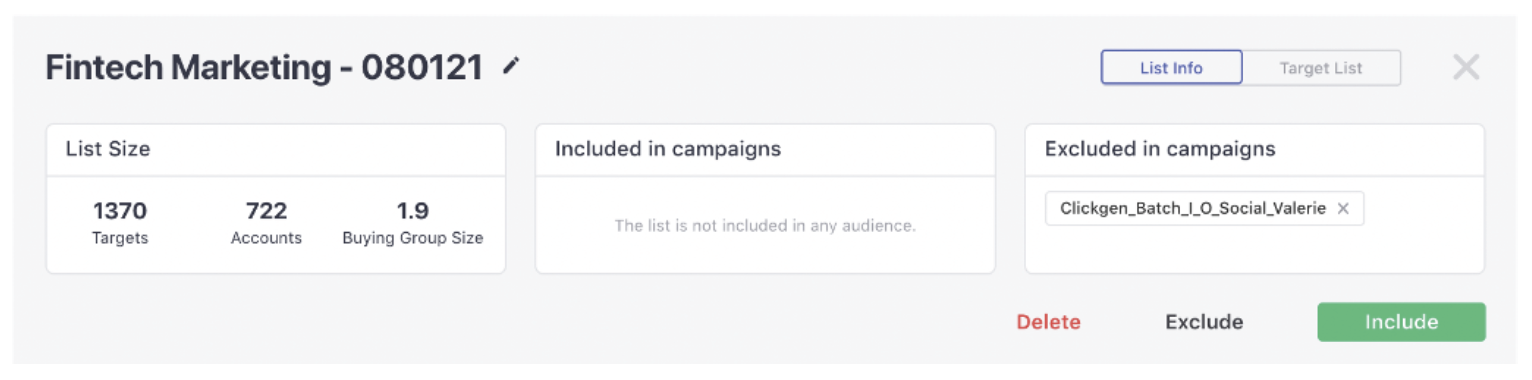
3. Once you have uploaded your list, a dashboard panel will appear in the same window, displaying:
- List size information
- Which campaigns the list is included and excluded (in this example there are none)
- Functionality to include, delete or exclude the list from the campaign
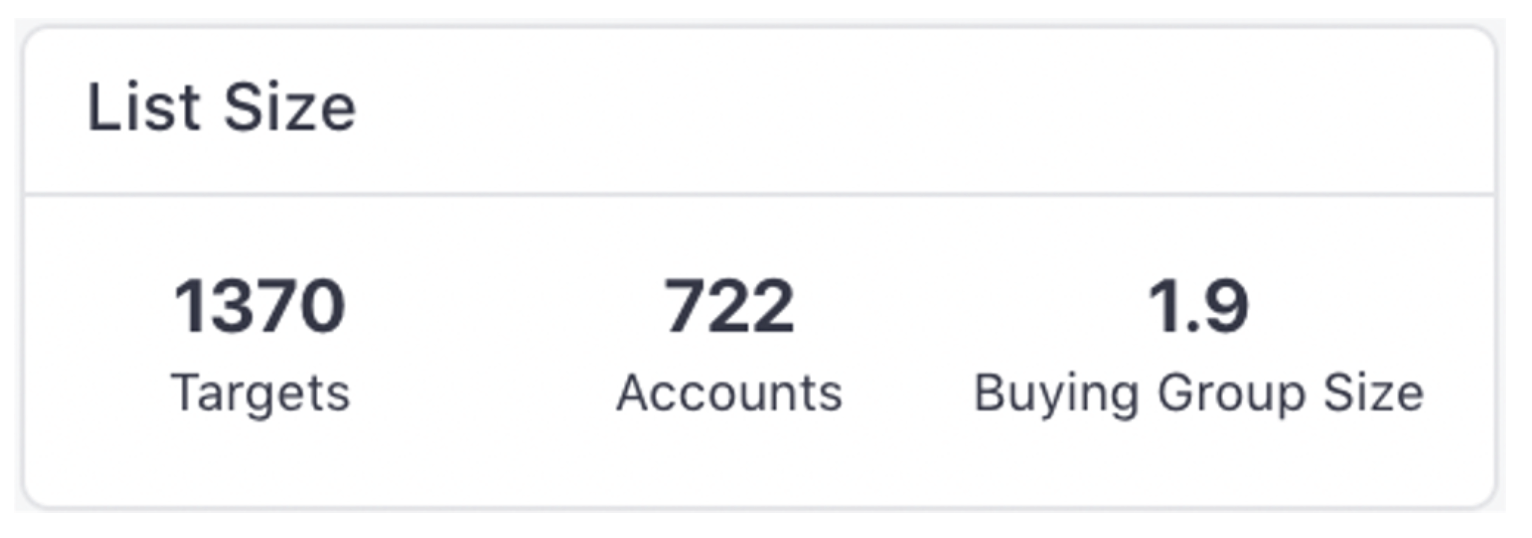
3.1. The List Size shows:
a. Targets – The number of returned targets (or contacts).
b. Accounts – The number of companies in the list.
c. Buying Group Size – The average size of the buying groups within the accounts.
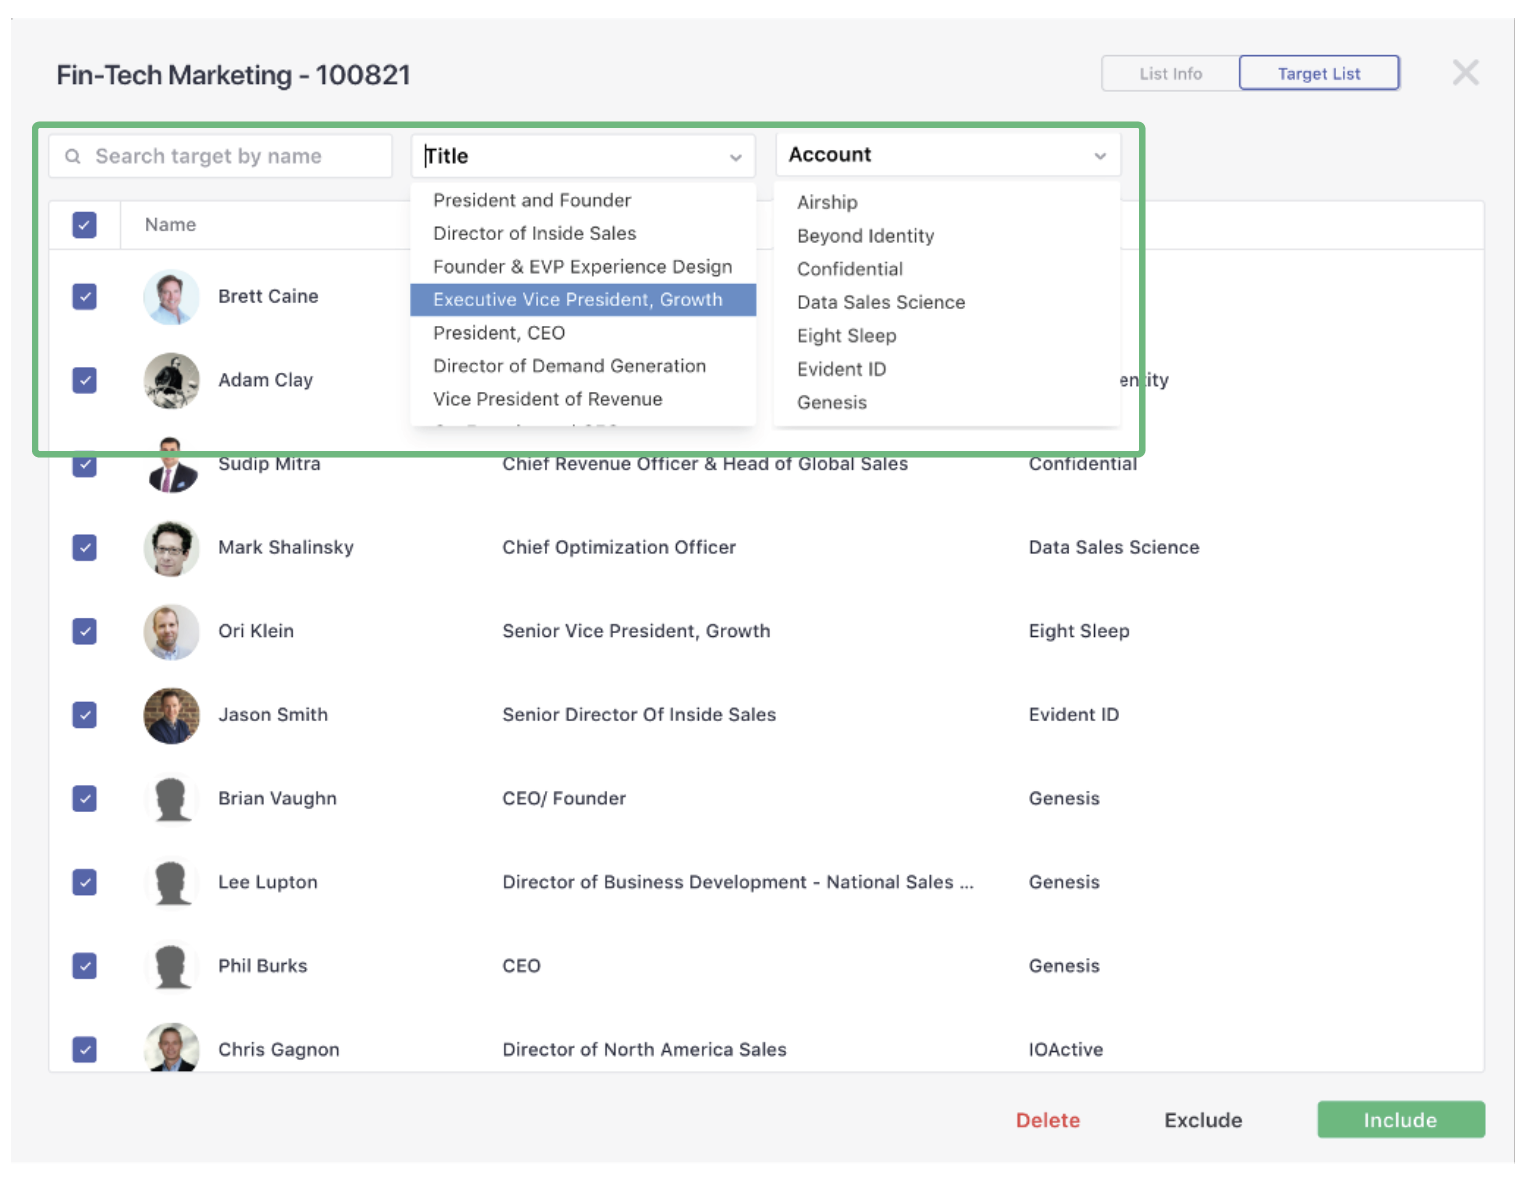
3.2. To further refine your list, click on ‘Target List’ in the top right-hand corner.
This allows you to view the list by target (or contact name). It can be filtered by name, title or account. This feature allows you to select the targets that you want to include, exclude or delete from your list.
When you select targets to be ‘included’, these will be automatically added to your campaign and targeted by Influ2.
Comments
0 comments
Please sign in to leave a comment.