Reach accounts that have engaged with your business using your on-site (or first-party) Intent data and find targets to reach through your campaigns.
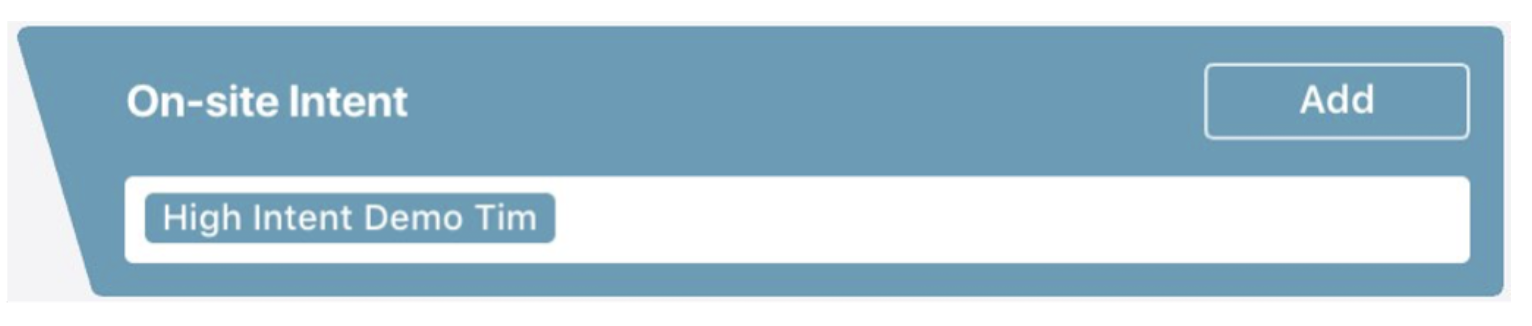
1. To create a new audience using this module, click on ‘Add’. This module also displays all other lists that you have created, for quick selection, editing and addition to the campaign.
Please note: To use this module, you must have the Influ2 tracking script installed on your website.
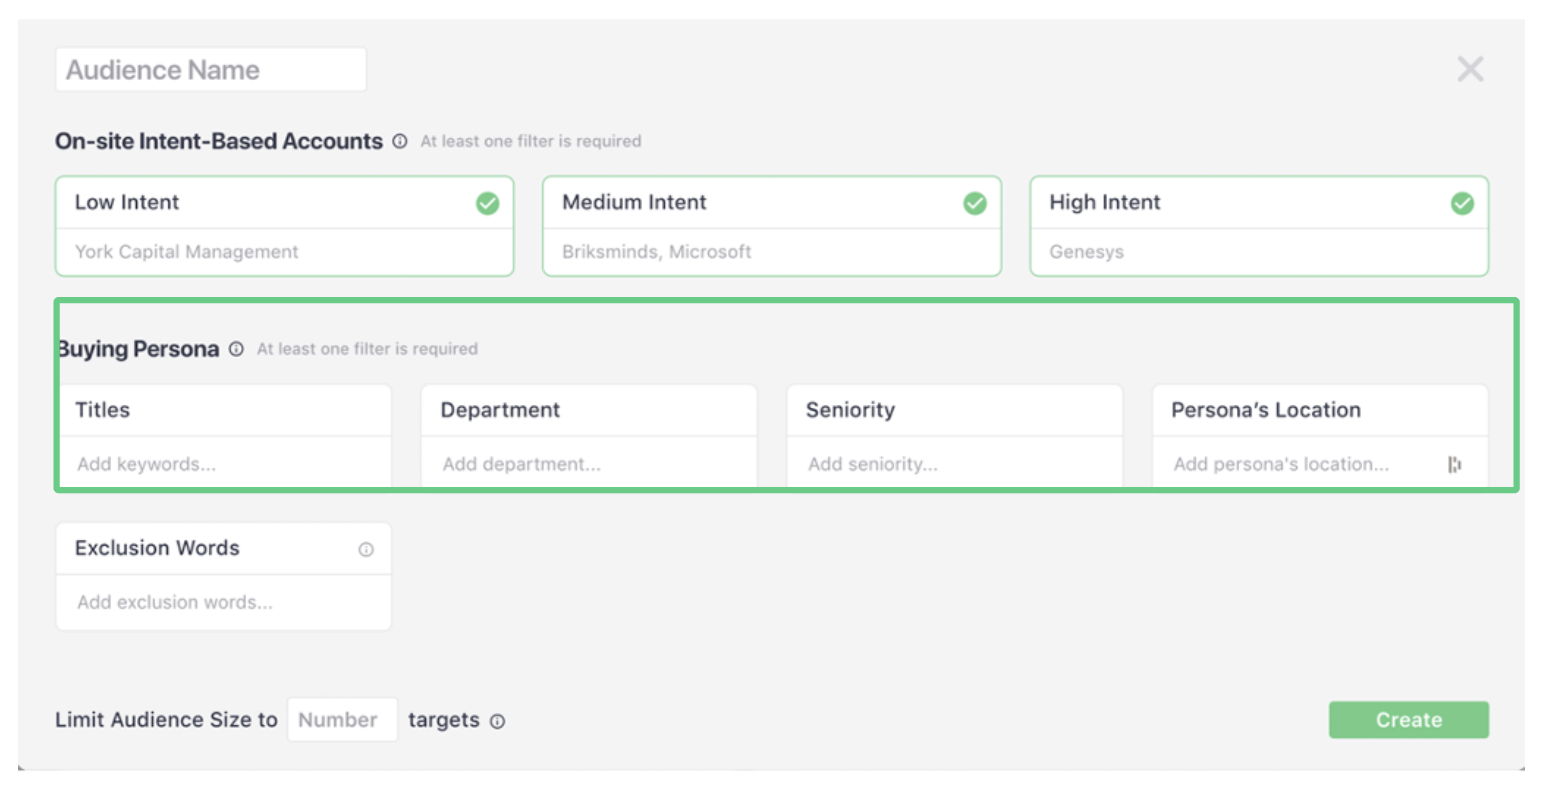
2. Create and name your new audience. Then select the level of Intent you want to use for this audience.
Influ2 gathers data and evaluates visits and engagement on your website at an account-level and scores this data in accordance with its behavioral scoring model.
The below table gives guidance on how to use these scores across your campaigns:
| Level | Recommended use case |
| High | Accounts from this group have significant engagement. You should further engage them with campaigns relevant to their profile. |
| Medium | Accounts from this group are potentially searching for a solution for their business but are not as engaged. Target them with educational materials to drive interest. |
| Low | Accounts from this group have low engagement. Engage them with broad nurture content. |
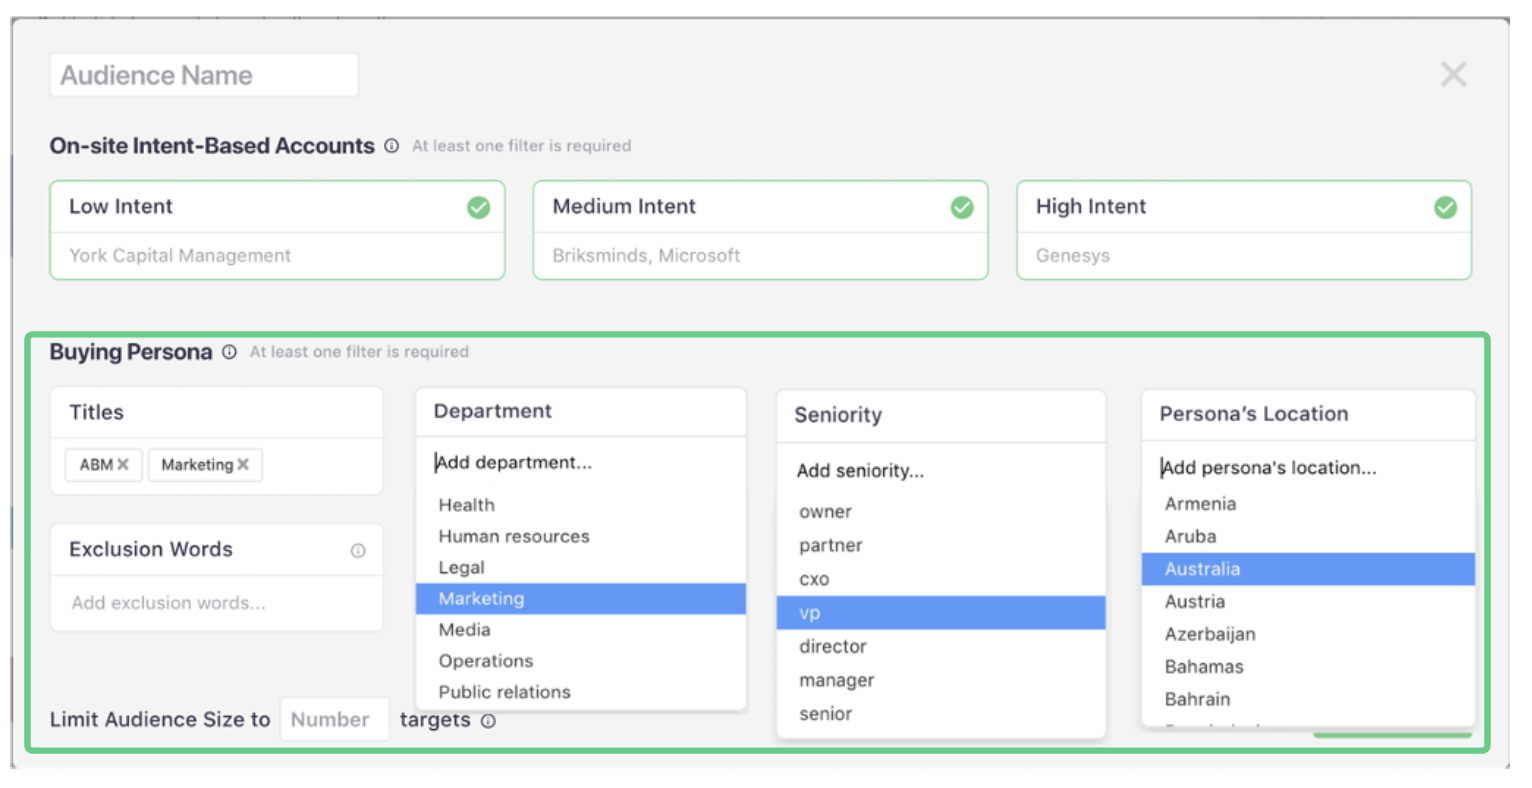
2.1. Then select your ‘Buying Persona’ criteria, as follows:
a. The position titles (free form field)
b. Department
c. Seniority
d. Persona’s Location
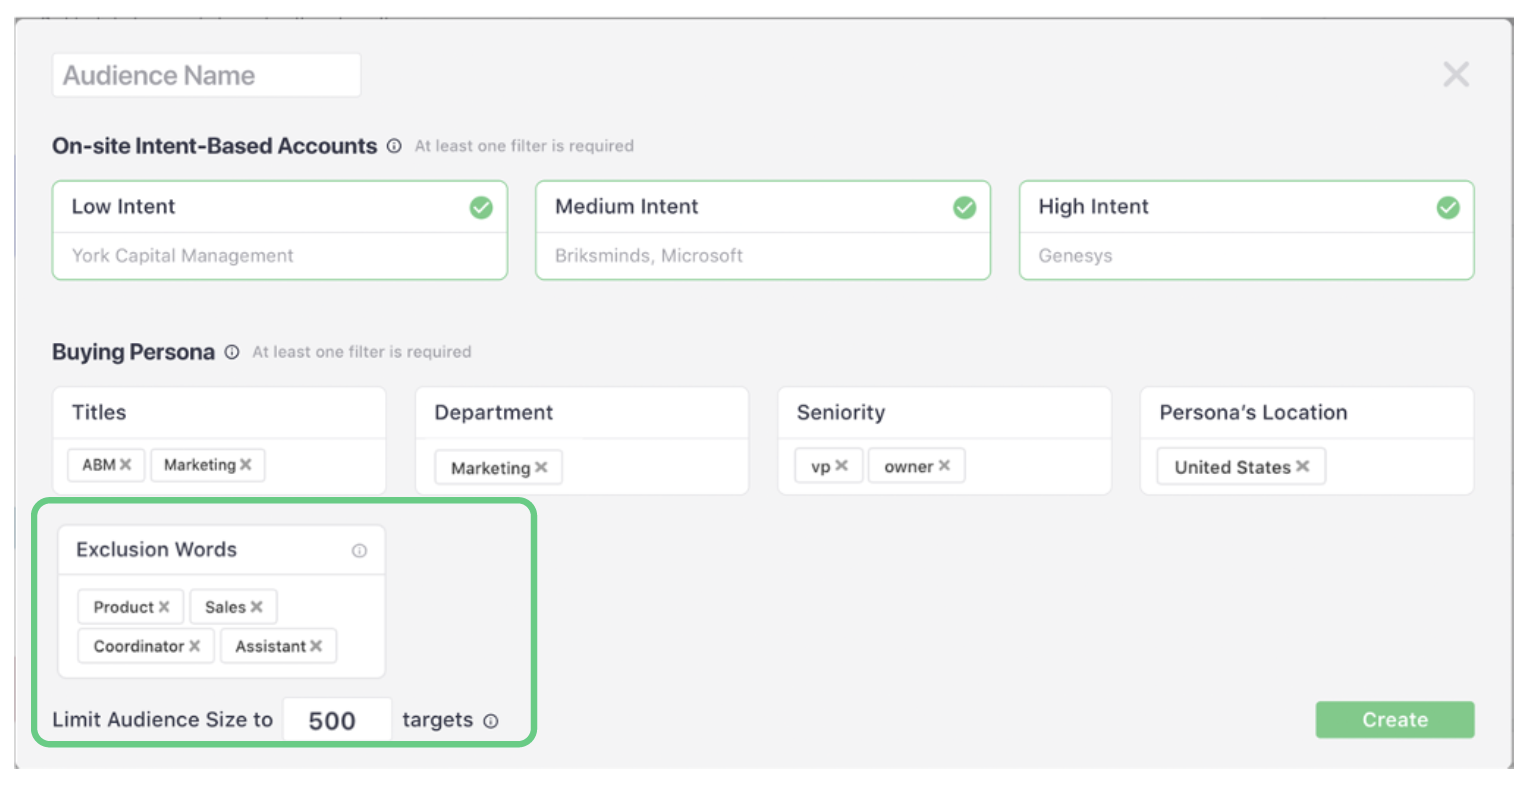
2.2. Additionally, add ‘Exclusion Words’ in the free form field to further refine your audience.
The ‘Limit Audience Size’ field controls the volume of your list in line with your campaign goals.
Once completed, press ‘Create’. The system will gather and return your first batch of results in real time and when complete a ‘Gathering finished’ message will be displayed.
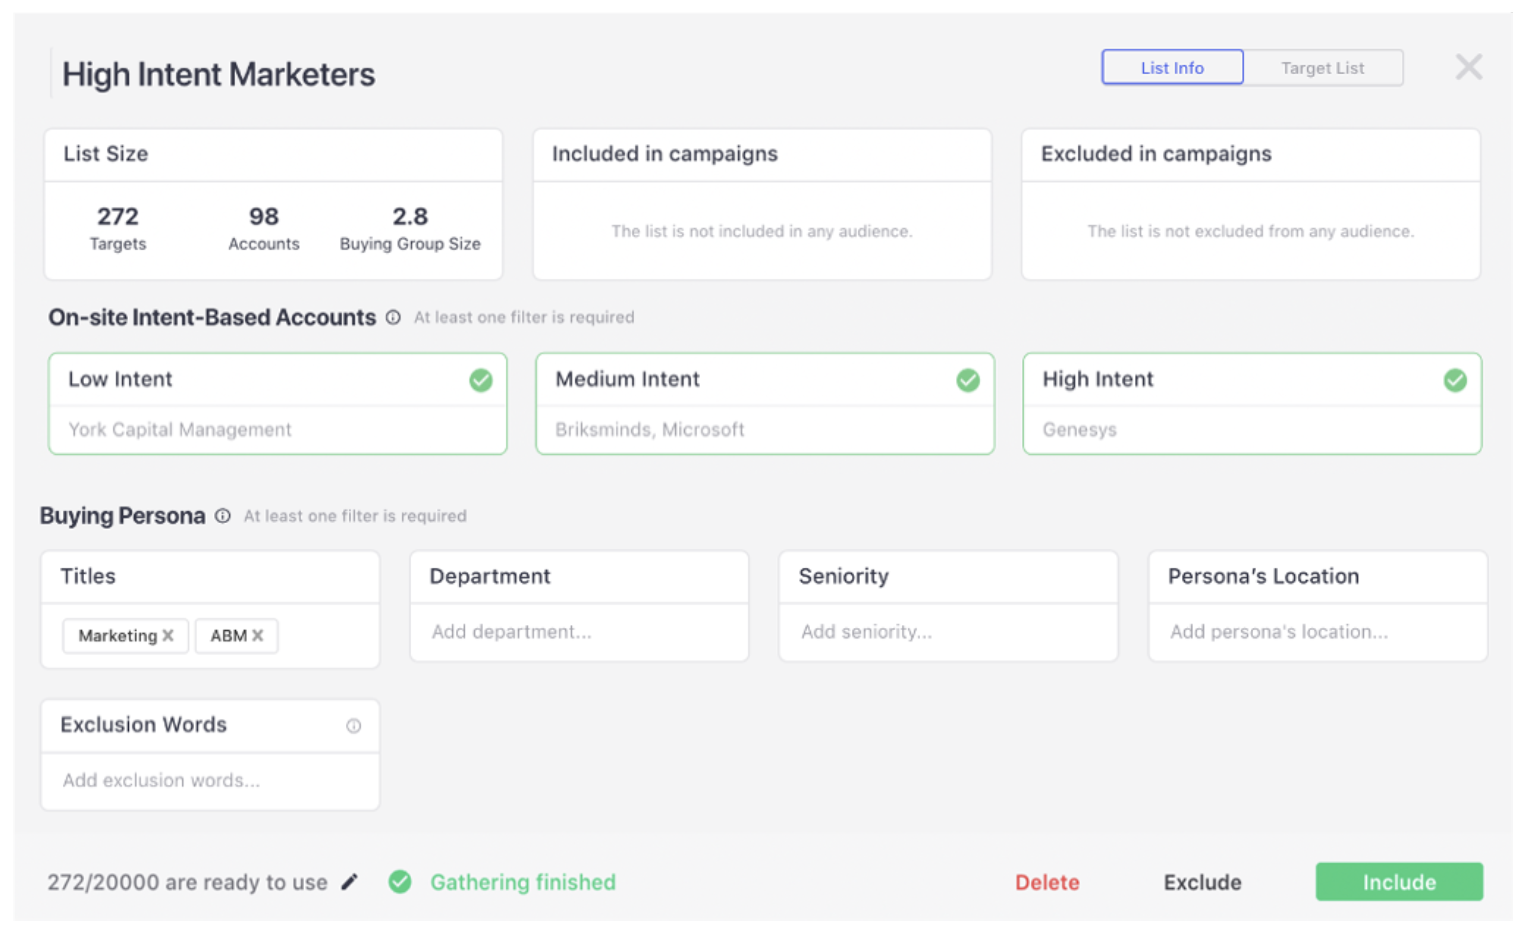
3. Once you have created your audience, a dashboard panel will appear in the same window.
In this panel you can view (and edit):
- List size information
- Which campaigns the list is included and excluded (in this example there are none)
- Firmographic and persona criteria
- Contacts limits
- Include, delete or exclude the list from the campaign
From this dashboard you can adjust and manage this list holistically.
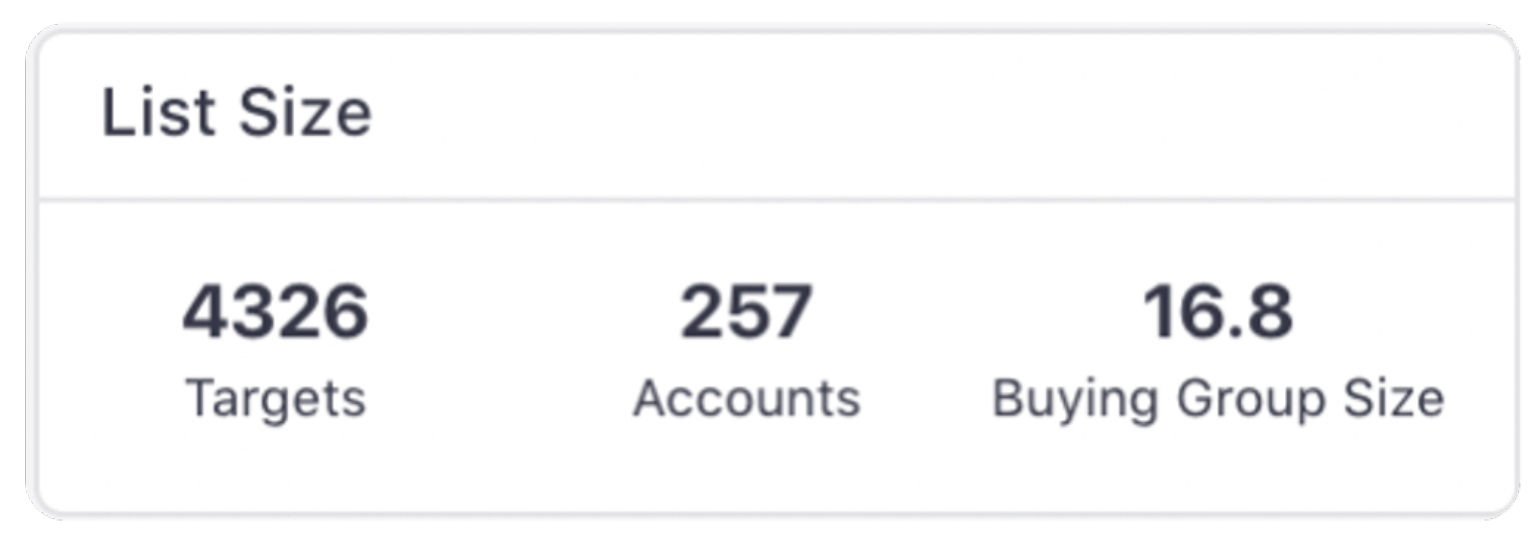
3.1. The List Size shows:
a. Targets – The number of found targets (or contacts).
b. Accounts – The number of companies in the list.
c. Buying Group Size – The average size of the buying groups within the accounts.
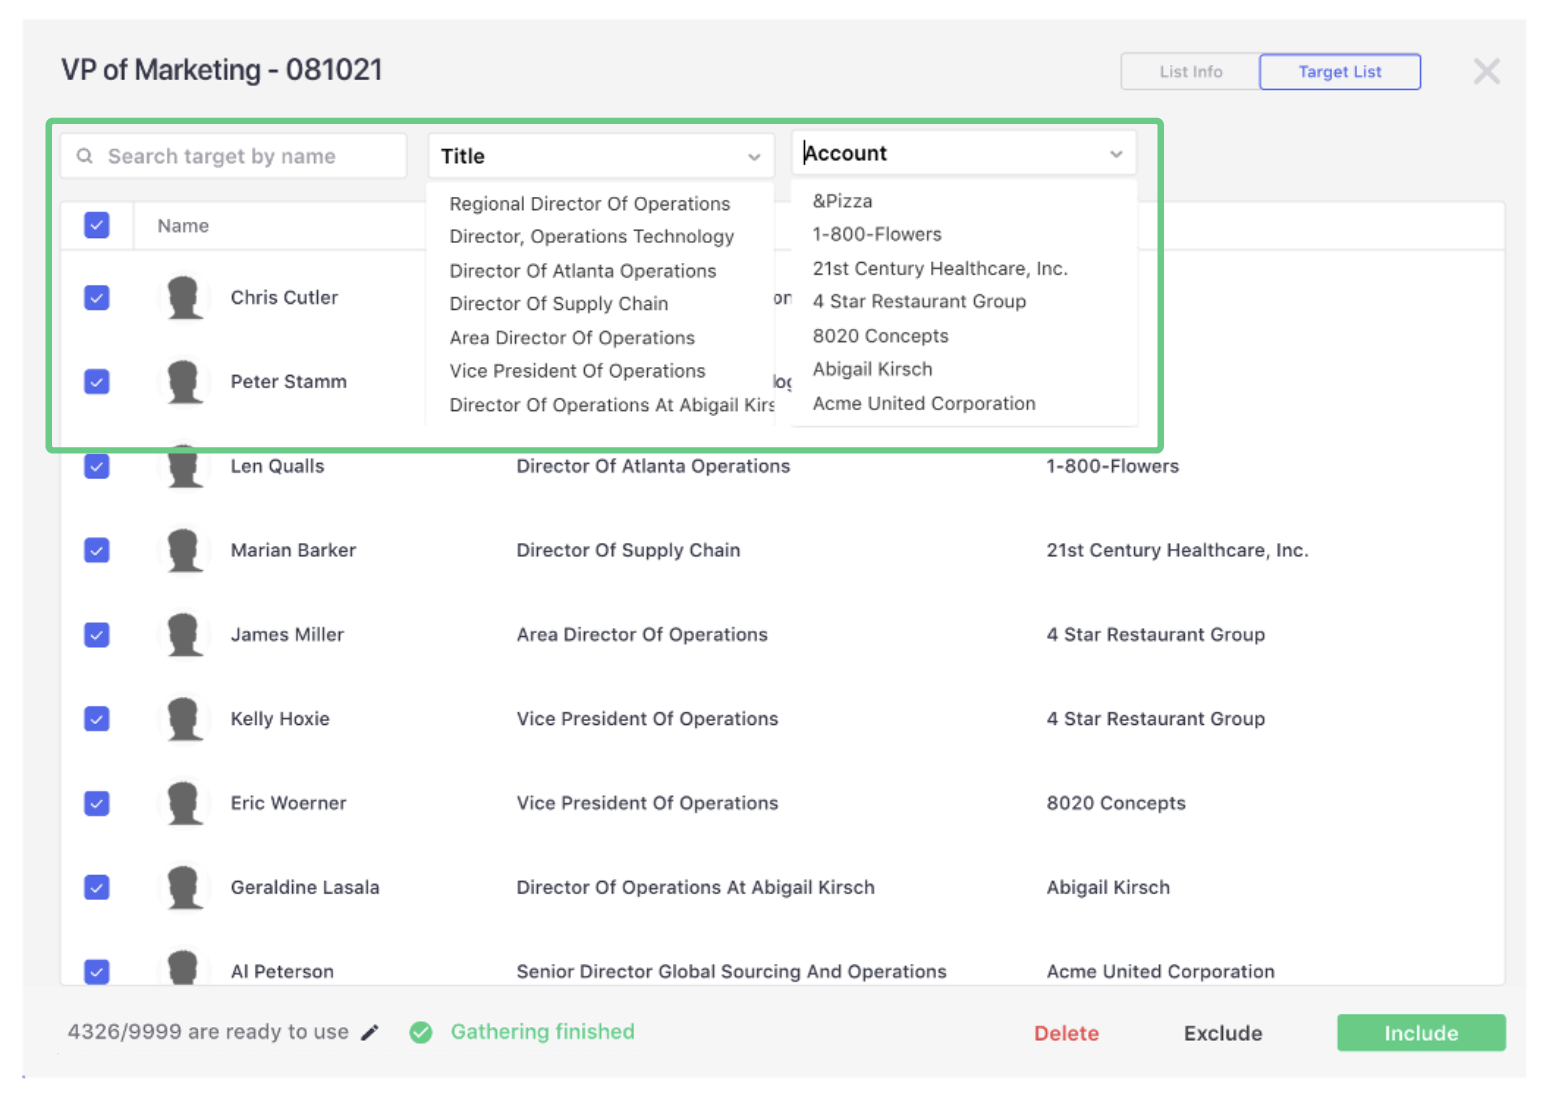
3.2. To further refine your list, click on ‘Target List’ in the top right-hand corner.
This allows you to view the list by target (or contact name). It can be filtered by name, title or account. This feature allows you to select the targets that you want to include, exclude or delete from your list.
When you select targets to be ‘included’, this audience will be automatically added to your campaign and targeted by Influ2.
Comments
0 comments
Please sign in to leave a comment.