Within a Program: How to Use the Actions Tab
Last updated: July 14, 2026
The Actions tab is where you activate omni-channel orchestration. It's where your Program journey turns into actual action — ad campaigns, CRM or MAP campaigns, sales sequences, and hand-off notifications for Sales. This article walks you through how to add and configure actions across channels and what to watch for once your actions are live.
Before you start
You'll need an Admin or Manager user role.
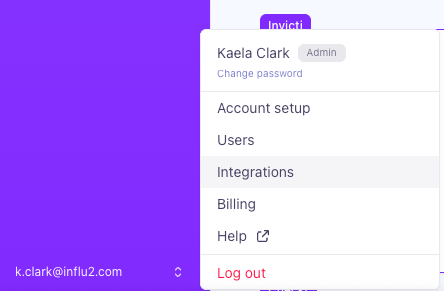
The integrations for any actions you plan to use (Salesforce, HubSpot, Salesloft, Outreach) need to be connected first — you'll find them under Settings → Integrations.
What you'll see on the Actions tab
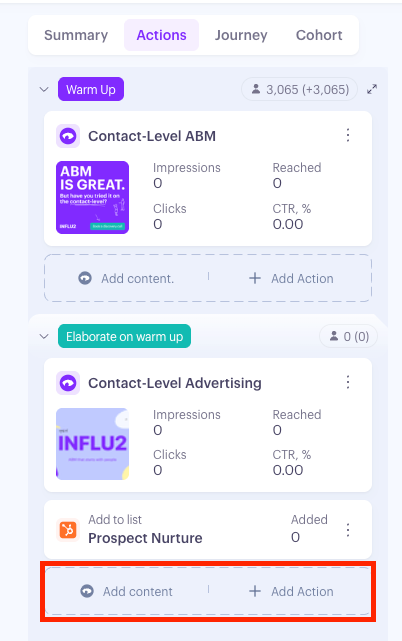
The Actions tab shows every activity running across your program journey, plus how targets are currently distributed.
Each stage column shows the stage name, how many targets are there now, and a delta — the number who entered during your selected date range. A positive delta means things are moving in the right direction! Individual steps include their own count and delta.

The date range filter (default: Last 30 days) changes the metrics on every card but keeps the board structure the same. Adjust it to compare performance across time windows.

How to add an action
The flow is the same for every action type:
Open the Actions tab in your Program.
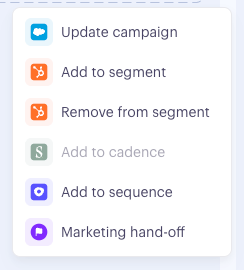
Within the stage or step, click Add Content to launch ads, or click Add Actions to activate omni-channel orchestration capabilities across Salesforce, HubSpot, Salesloft, or Outreach.
Configure the ad content or select an action type from the panel.
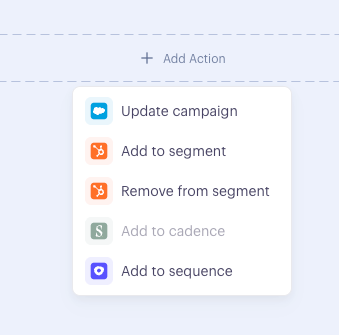
Configure the action (the fields vary by type — see the Action types section below).
Click Save. The card appears on your board immediately.

If an integration isn't connected, the action appears disabled with a tooltip telling you which integration to connect first.
Action types
Ad Content
Delivers ad content to your targets at this stage or step in the journey.
Select Add content.

Choose a content piece from your library. Click launch content.
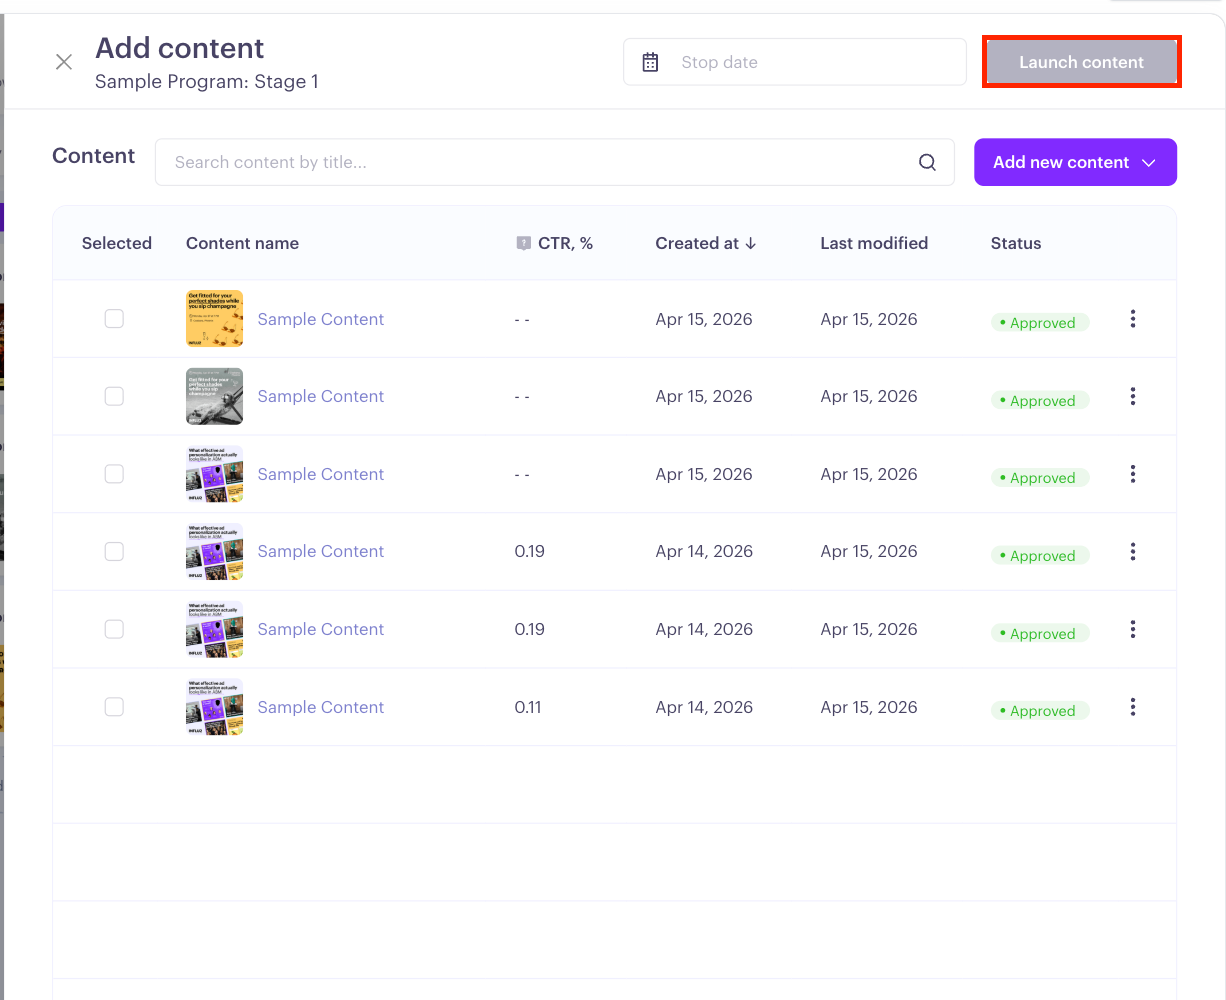
Optional: Add a stop date
To run content until a specific date, select a stop date before launching.

The card appears in the stage column with its creative preview, status, and live metrics (Content status, Impressions, Reached, Clicks, CTR%).
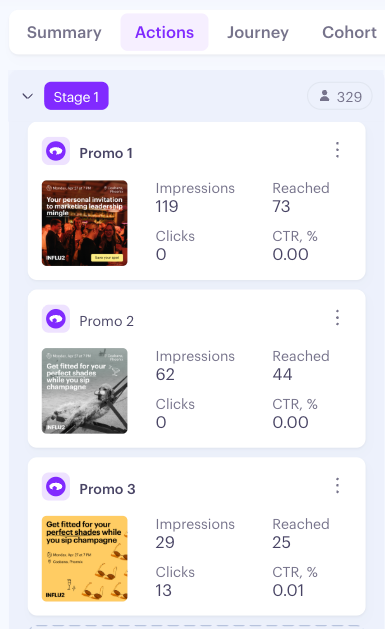
Ad content tips:
If reached is much lower than your target count, you may need to improve your audience or talk to your Customer Success Manager about allocating more resources to this ad.
Low CTR usually means the message isn't compelling enough to drive action.
Click the creative thumbnail to open content settings and edit the campaign
Click any metric to open a filtered audience slideout showing the targets contributing to that number.
Click here to learn how to pause, archive, or resume content.
Keep in mind: You can add up to 5 ad creatives per stage or step.
Salesforce Campaign (Update Campaign Member)
Updates Campaign Member status in Salesforce — or adds targets to a campaign — when they enter this stage in the journey.
Select Salesforce Campaign.

Choose a Campaign from the dropdown (all campaigns are listed with name).
Choose a Campaign Member Status. The dropdown is populated from the selected campaign; if no custom statuses exist, you'll see "Sent" and "Responded" as defaults. Pick the status that reflects where this stage sits in your funnel.
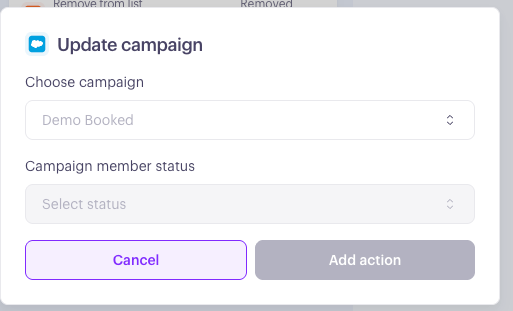
Click Add action.
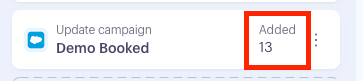
Once added, this action card will show the count of targets added to or updated within the campaign.
Keep in mind:
If a target is not already part of the Salesforce campaign, they will be automatically added when they reach this stage or step in the journey.
Auto-create Lead behavior is set globally in Settings → Integrations → Salesforce — not on the action itself.
HubSpot List (Add to List or Remove from List)
Adds or removes HubSpot contacts from a Static List as targets enter this stage.
Select HubSpot List.
Choose your mode: Add to List or Remove from List.
.png")
Select a Static List from the dropdown. Only static lists appear — dynamic lists are excluded because they manage their own membership.
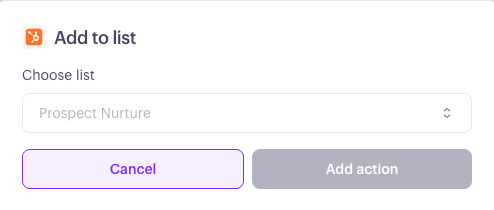
Click Add action.
Once added, this action card will show the Added count or Removed count as targets move through the journey.
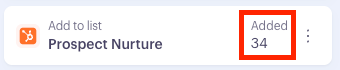
Low "Added" counts at an early stage may signal that the HubSpot connection needs checking.
Keep in mind:
The auto-create Contact behavior is set globally in Settings → Integrations → HubSpot.
If HubSpot goes offline, or the list is deleted or has changed from Static to Dynamic since the action was configured, the action stops without making changes. When the issue is resolved, the action processes normally for the next targets who enter the stage.
Outreach Sequence or Salesloft Cadence
Enrolls targets in an Outreach Sequence or Salesloft cadence when they enter this stage.
Select Outreach Sequence or Salesloft Cadence.
Choose a Sequence or Cadence
Salesloft: all non-archived cadences are shown.
Outreach: all sequences are shown (no filtering for archived sequences).
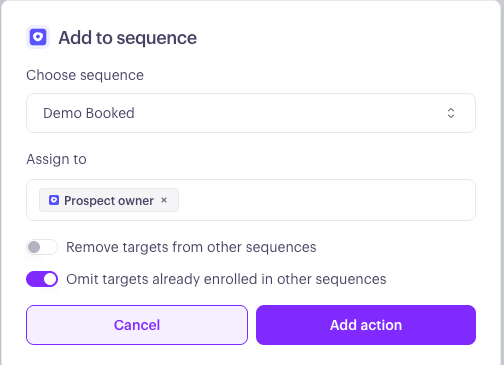
Choose who the contact gets assigned to.
Keep in mind: If a prospect is not in Salesloft/Outreach yet and auto-create prospects from engaged targets is on, the prospect will be assigned to the integration user.
Adjust the toggle settings to:
Remove the contact from any other active sequences/cadences first, then enroll them in this one.
Skips enrolling a contact in this sequence/cadence if they are already active in another one.
Click Add action.
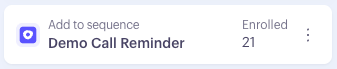
Once added, this action card will show the count of targets Enrolled, or a count of Skipped contacts due to enrollment criteria.
Notify Sales Team
Sends a marketing hand-off notification to your sales team to prompt them to reach out when a target enters this stage or step.
Select marketing hand-off
Click Add action — no additional configuration is needed. A notification is generated for each target that enters this stage or step.
What's next
Once your actions are live, watch the card metrics to see how targets are moving through the journey. Use the date range filter to compare windows, and click into any metric to open the filtered audience slideout.